Colette Patterns Moneta: 90% finished!

So fast!  So satisfying!
My main thing I learned with the Mabel and the Moneta is how awesome Wonder Tape is.  Here I have marked where the tape should go.

And here I have affixed the tape. Next I pulled off the top layer, pressed the edge to the tape et voila!  Sleeve hem is held securley in place (no pins!) while I sew the hem.

I’m wasn’t really sure what was going on here.  My guess is that I could have used a bit more ease at the waist (these patterns have negative ease, because of the stretch of the knit fabric).  It also might be a case of my serger not being properly adjusted for tension.  I solved this problem by reinforcing the seam with my regular sewing machine.

Look at this dress!  It still needs a hem, but it came out really well.

Side view. There are pockets!

Closeup of my neckline hemming.  That’s done with a twin needle.  The Wonder Tape, aside from holding the hem in place, also stabilizes it, so it doesn’t stretch.

I made notes of things to remember for the pattern.  I’ve decided to make this year’s uniform dresses with this same pattern, so I’ll go over these notes in the construction of those dresses.

Waiting for a hem.

One thing the dress needs is a tag, or other such thing to indicate which side is the back.  I’ve sewn in a little flower I pulled off my bra during my teenage years.

Colette Patterns Moneta: Cutting and bodice.

Here’s my layout.  I tried to make intelligent decisions about where colors of stripes would fall.  This time I traced around the pattern with a marking pen, then removed the pattern and cut out the materiel. My scissors are so dull!

And here is the bodice. 

They weren’t kidding about it coming together quickly.

Colette Patterns Moneta. Testing the waist.

After the Mabel disaster, I began my Moneta project by tracing a few inches of waist from the front and back bodice in both L and XL sizes.  
As usual, I fall right between L an XL on the size chart (why is there a gap?) except for my waist which skewed all the way to the top edge of XL.  After tracing my mini-test pattern, I then cut strips of material from my main material, after first checking that it was an area of “extra” material.  Then it was a matter of sewing them together and trying them on to see which one fit.  Knowing that the XL was a much better fit than L gave me the confidence to continue on with the project.

Colette Patterns finished Mabel

Okay, fixes made.  Here’s the final result.

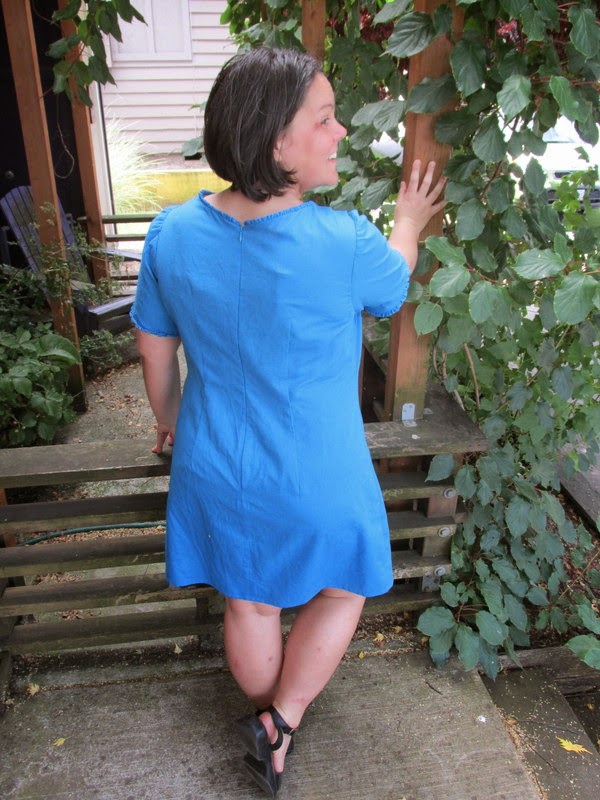
And here is an overly large photo (I’m not sure why Blogger didn’t shrink this one) from the back, showing the kick pleat, which was the feature that lured me in.

The outside pictures weren’t showing the texture of the fabric, so I brought the skirt in for a closer shot.  You can see that the pencil effect has disappeared and the front/center panels ratio is off.

I really love the material, though.  And it’s a very comfortable skirt.  The waistband should be much bigger, but I cut it off twice due to making mistakes in construction.
I blame myself, not the pattern for the disaster.  I think my problems were threefold:
1.  My knit wasn’t firm enough, which meant it just kind of “let go and let god” when I cut into it, which is nice for some things, but not so much when  you are supposed to be keeping a shape.
2. I didn’t do a very good job of taking my measurements.  Twice.  Because Mr. Hornaday, my 8th grade shop teacher taught me to always measure twice.
3.  My scissors are incredibly dull and they stretched out the fabric as I was cutting.
So I’ve learned my lesson.  I will attempt this skirt again with a stronger knit and later in the day after I’ve finished my other projects. And licked my wounds.  I’m going to start the next version by cutting and sewing the waistband and TRYING IT ON right then, before I cut out the skirt parts.
As a post script, the first time I wore this out and about, it relaxed even more, and I ended up pinning out the sides, just so it wouldn’t fall down.  I think this material would make a great shapeless wrap-type jacket.  But not a skirt.

Finished Laurel dresses with tiny ruffle variation.

Here it is!  After a year delay, the debut of the Laurel dresses.

The woman who owns and designs Colette Patterns is large of bust and long of leg.  Her designs tend to minimize bust and highlight leg.  As I am small of bust and short of leg, I am always dropping her necklines (sometimes by several inches) and hemming her dresses to a longer length.  
After I finished making these dresses, I remembered that this is not necessarily the most flattering style on me.  I tend to do better with a defined waist.  However, these are incredibly comfortable dresses and I think they will get a lot of use.  I’m glad I spent so much time fitting the shirts, as it translated into a pretty good fit on the dresses.
To see all the posts in the Laurel journey, click here.

Colette Patterns Mabel

I walked to Modern Domestic to get the Moneta pattern not Wonder Tape, now that I think about it.  While there I was overcome and bought not just the Monea pattern, but also the Mabel pattern and a yard of material to make me a skirt.  My solemn vow to only have one project at a time on hand seems to have gone by the wayside and I’ve driven to another state.

Tracing the pattern, using my handy “pattern weights” aka cans of food.

Cutting the waistband.

Cutting out the skirt.  My sewing scissors are incredibly dull and I ended up getting out my rotary cutter and 12″x 12″ cutting mat, which made for some tough repositioning.