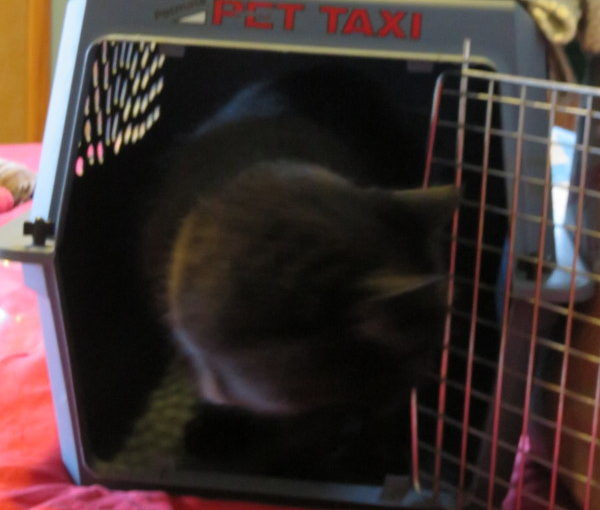
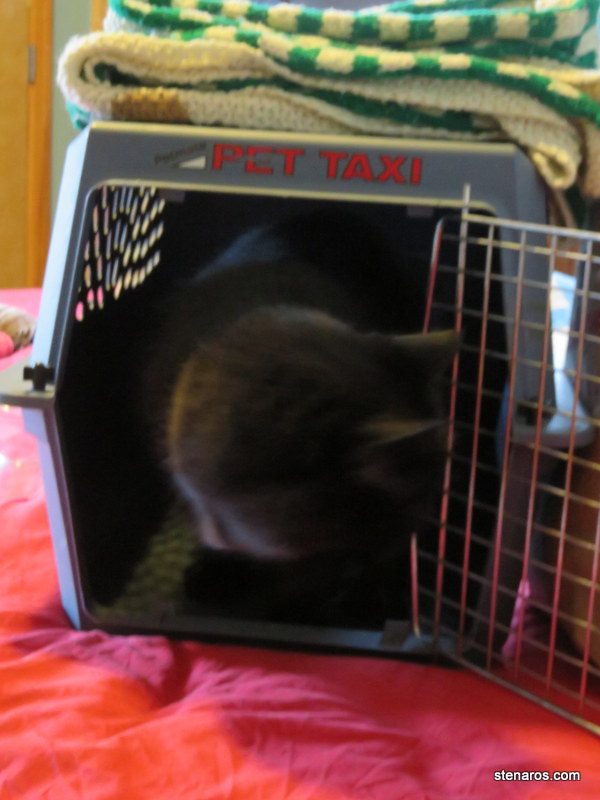
Mork, my friend Z’s cat, is visiting us. I put her carry case on the bed so I could sweep and Sentinel jumped right in. There were things to sniff.
Mork, my friend Z’s cat, is visiting us. I put her carry case on the bed so I could sweep and Sentinel jumped right in. There were things to sniff.
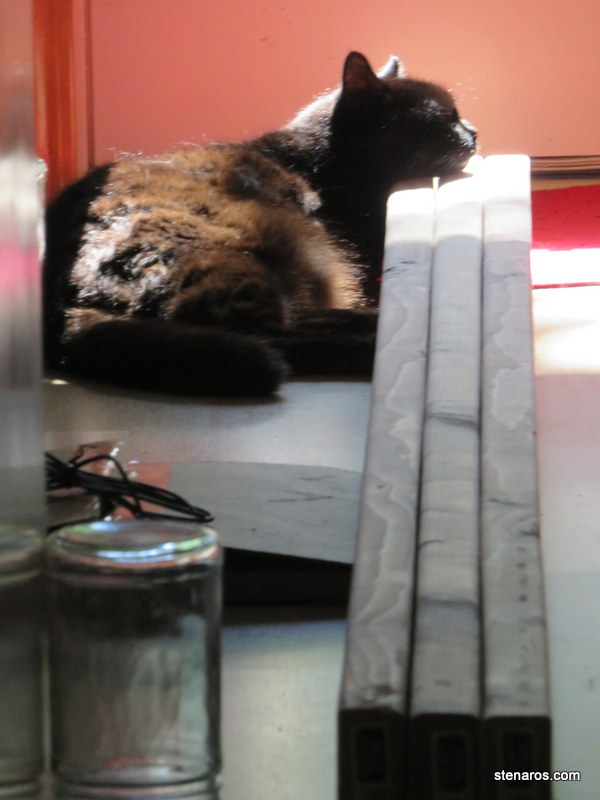
Three two-by-fours waiting to be transformed into a ladder don’t escape Sentinel’s notice. And what better way to welcome them to the household than to use them as a pillow?
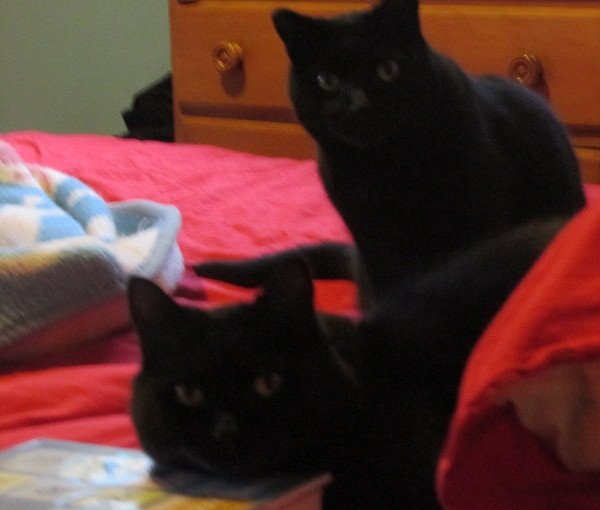
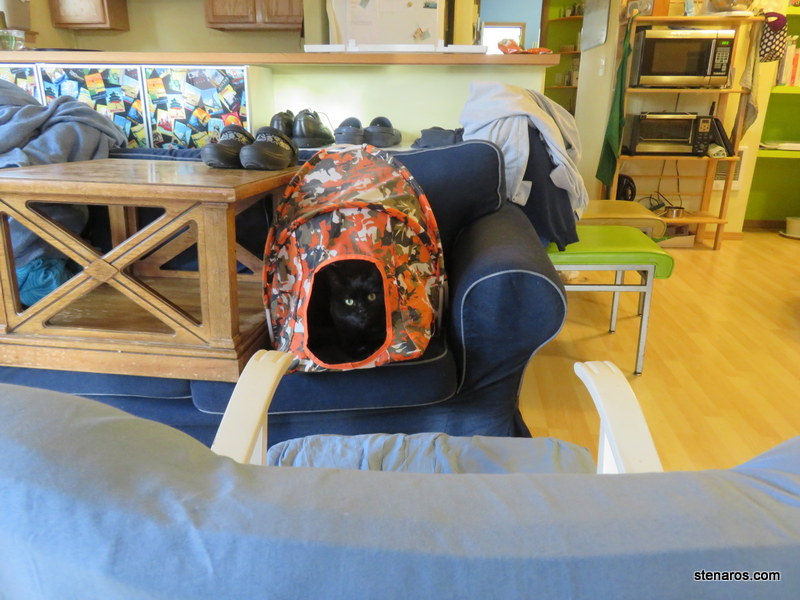
Antares hides when things become a jumble in the house–as depicted here, mid-way through the house cleaning. But Sentinel wants to know what’s going on, so he always comes out to supervise. This time, he found a nice spot where he could do so.
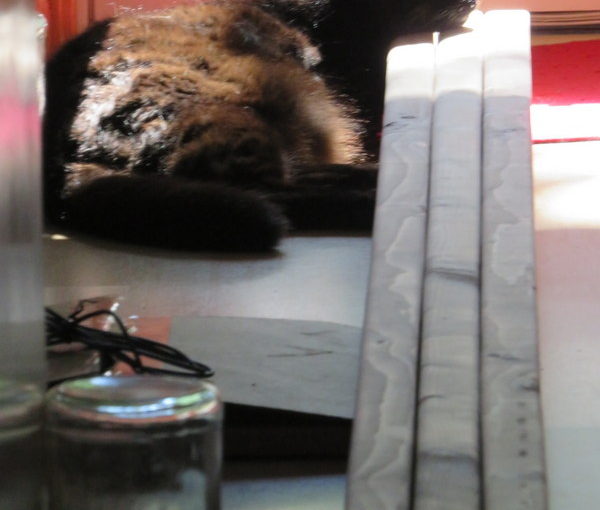
Sentinel looked up and ruined the photo I had planned, which was of him with his head stretched out over the book looking very much like a long worm. But this is cute too.


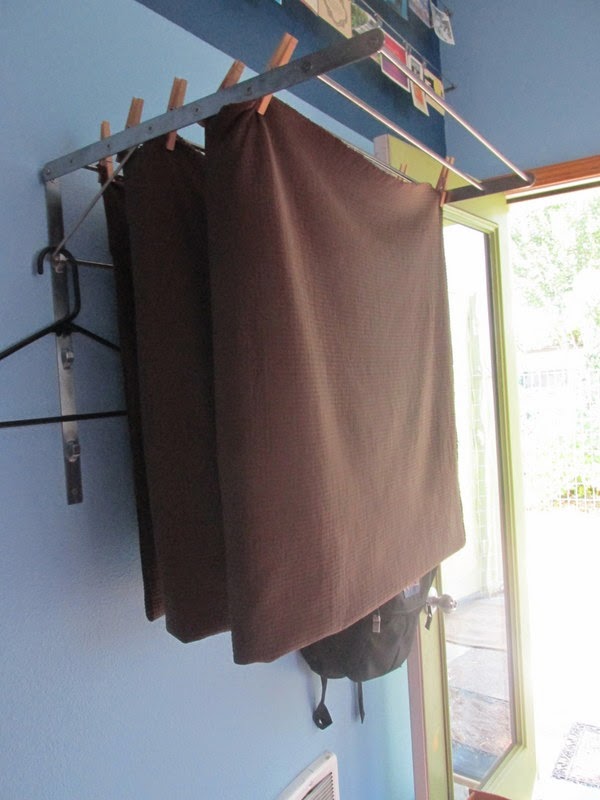
The catio was up most of the day today and I had the door wide open. It was just that nice outside. Windy though. Most of the leaves I hadn’t cleared from the back porch ended up in my bedroom. If you squint, you can see the flowering quince doing its flowering thing in the background.
February.
Before we get to the camisole, Julie and I went to Fabric Depot to purchase material for said camisole. We always enjoy looking at the sample garments and this one was a winner. The peplum shirt version was on display and, aside from the ruffles around the neckline which both of us wouldn’t bother to add in the first place, we loved this! I forgot my camera, so this is a blurry cell phone photo.

Also, before Julie and I went to Fabric Depot (this is a poorly arranged post) I cleaned the house. After vacuuming my doormat, I needed to mop the floor, so I set the doormat on my bed. Sentinel decided it was a good place to sit.

The Savannah camisole is one of two patterns available to subscribers of Seamwork magazine’s January issue. The other one was a pair of leggings with a cute tulip detail. I just made leggings, so I’m skipping that pattern now. I do need tops/shirts/etc so I’m making the camisole. This will be my first project sewing on the bias.
Here, I’ve taped and cut the pattern.

See that diagonal grain-line? Usually it would be parallel to the center fold. That’s how you know this is a bias cut. I also learned that one should cut fronts and backs of bias cut garments so the bias runs in opposite direction. This keeps the garment from twisting around the body.

Sentinel came to help with the cutting. The other thing I learned with this project was that one should cut out pieces on a single layer.

This project was advertised as taking two hours and I’m nearly at that mark. I’m also nearly done. I just need to attach the stretch lace and the straps. I did not finish this project because I’d never used stretch lace before, so I did some online research before we went to the fabric store. This was both good and bad. Good because I knew how much stretch lace cost online. Bad because the stretch lace at Fabric Depot was four times the price of the lace online. I needed two yards, which would have cost $12.00 or more at the store. So I came home and ordered five yards from a seller on Etsy (who lives in Boise, Idaho) for $6.00 including shipping.

I’m really liking this fabric and pattern so far. I look forward to finishing this project.
Gertie’s New Book for Better Sewing has a schematic to make a circle skirt. I had material left over from the capes I made last summer, so here I go.
I had very little pattern paper, so I made my right angle in one corner.

And then raided the wrapping paper for the rest of the pattern.

Here are my two pattern pieces, the waistband and the skirt.

I moved the chairs out of the way to clean and then left them while I was working on the skirt. Sentinel found a new seat to sit on.

Sadly, while I had thread and the material, I did not have a zipper, so this is as far as the circle skirt has gotten.