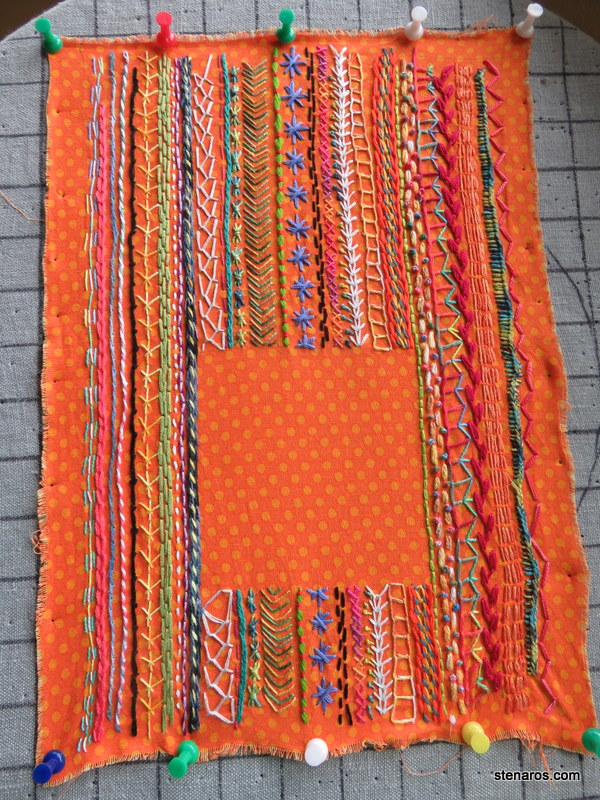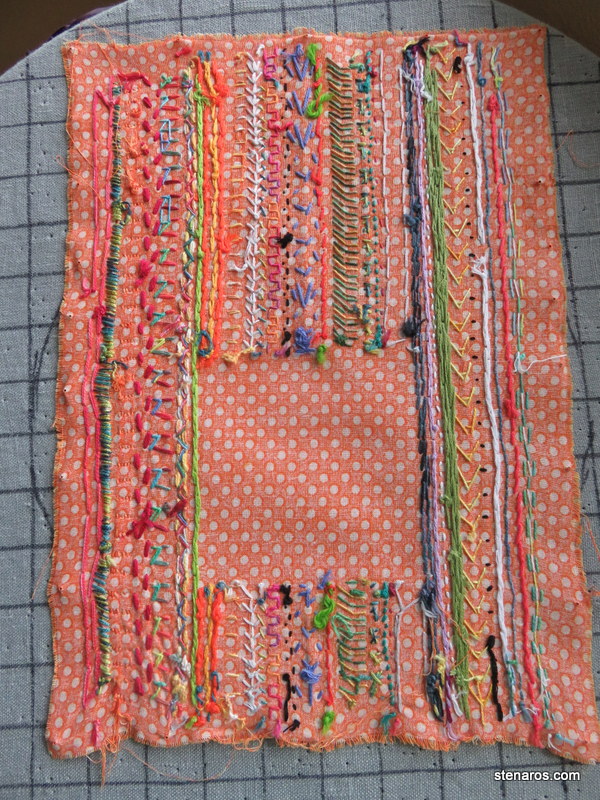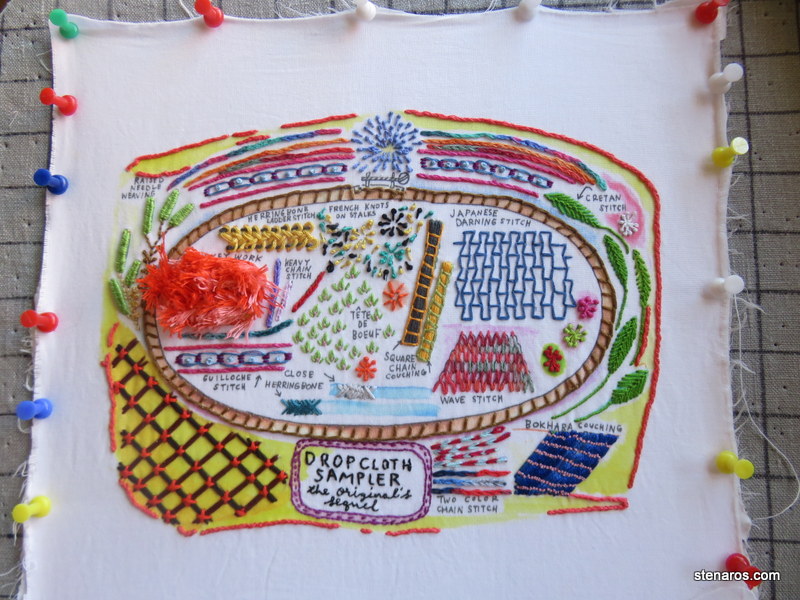
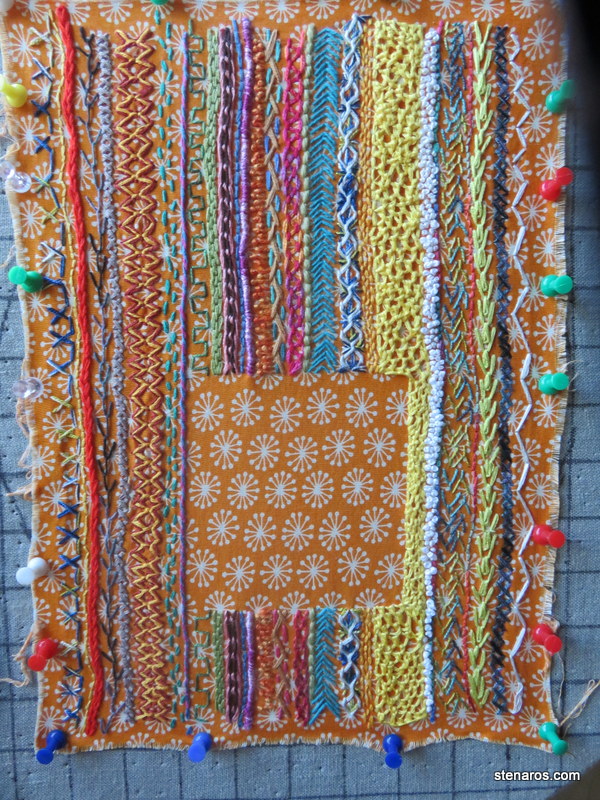
This one took a while, partially because that yellow thread stitch to the right of the negative space square took a lot of thread, and I ran out and had to reorder, and also because my interest in this project seems to wax and wane. For instance, I finished it several weeks ago, but it sat waiting to be washed and stretched for a long time.
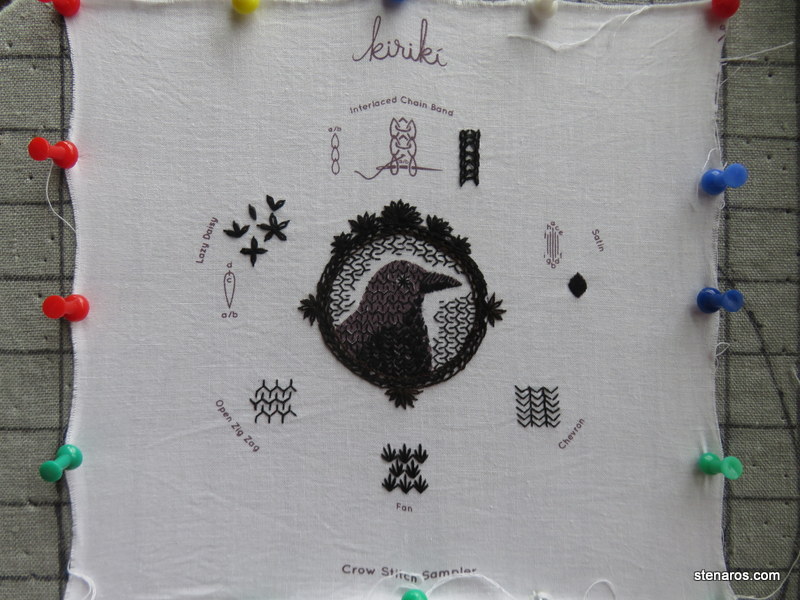
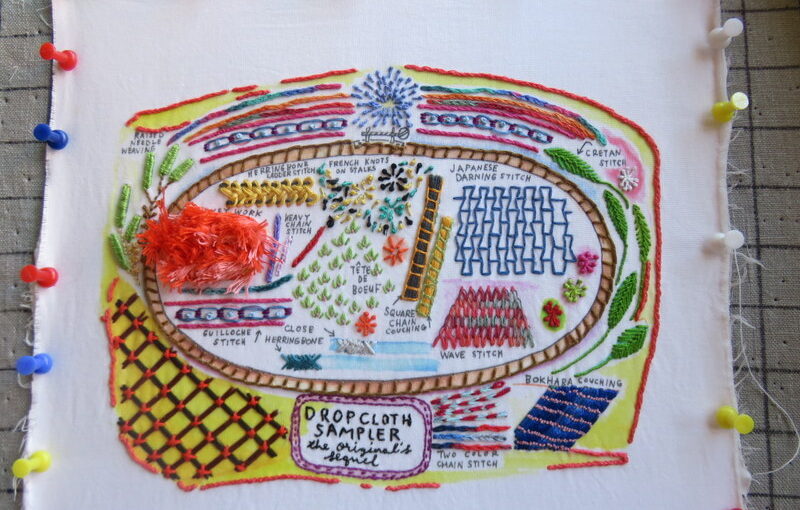
I like the overall result though.
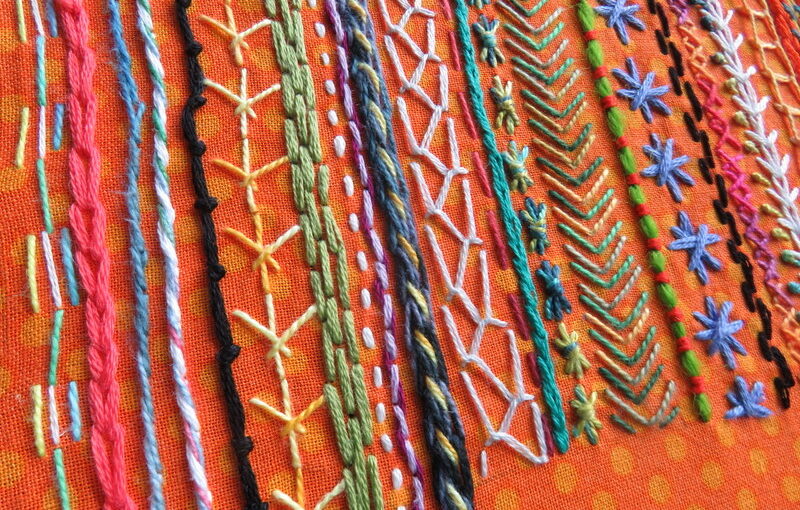
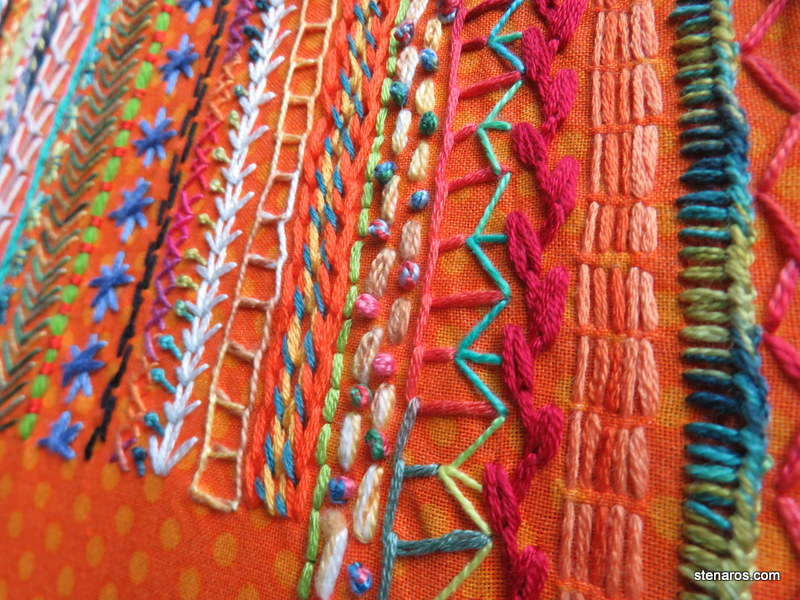
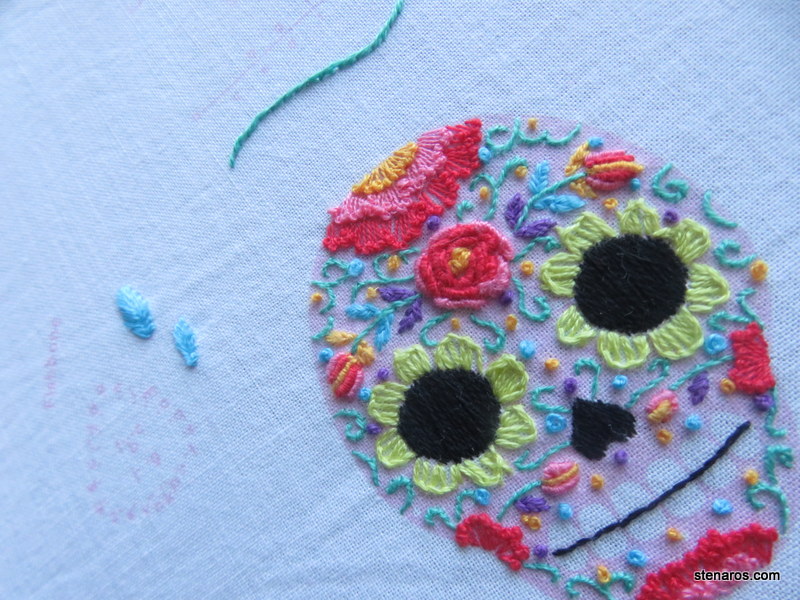
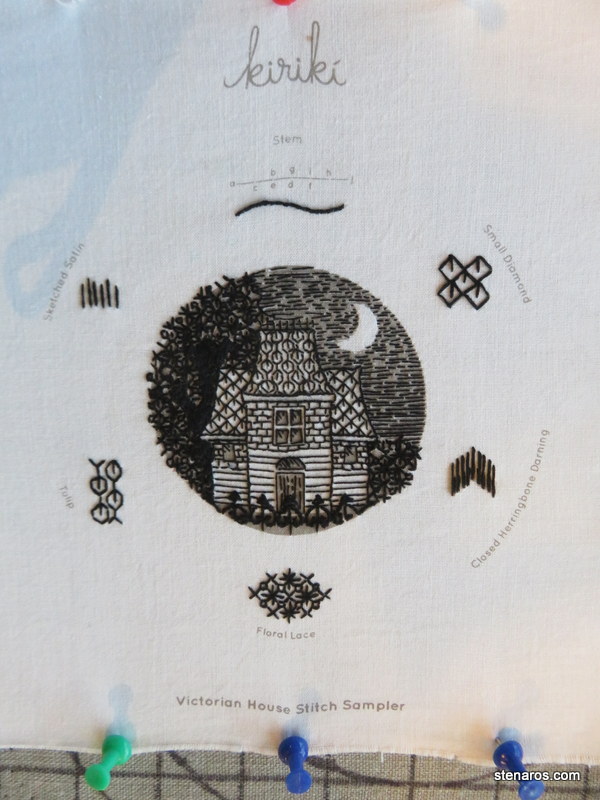
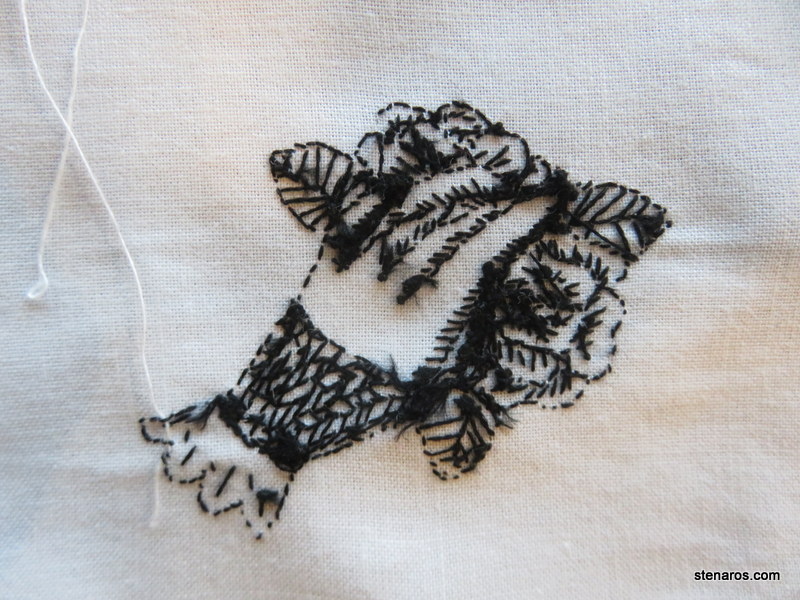
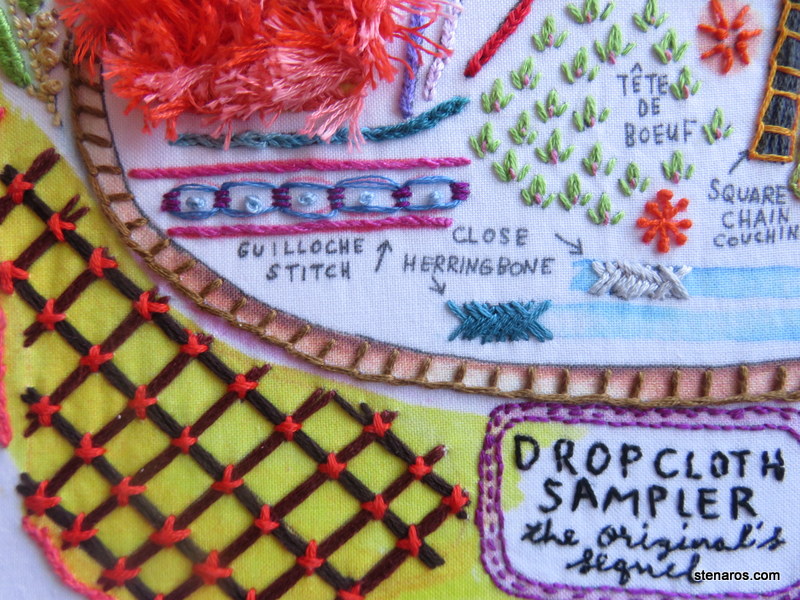
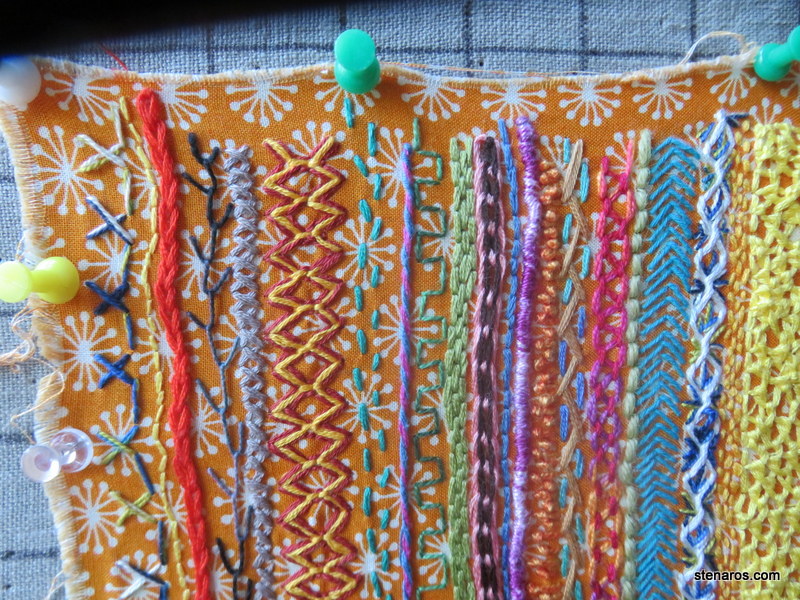
Here’s a closeup of the left side. I like my double zig zags with the maroon and gold. And the simplicity of the turquoise running stitch next to it. The wrapped purple guy was when I started to incorporate stitches from Pop-Up Embroidery.
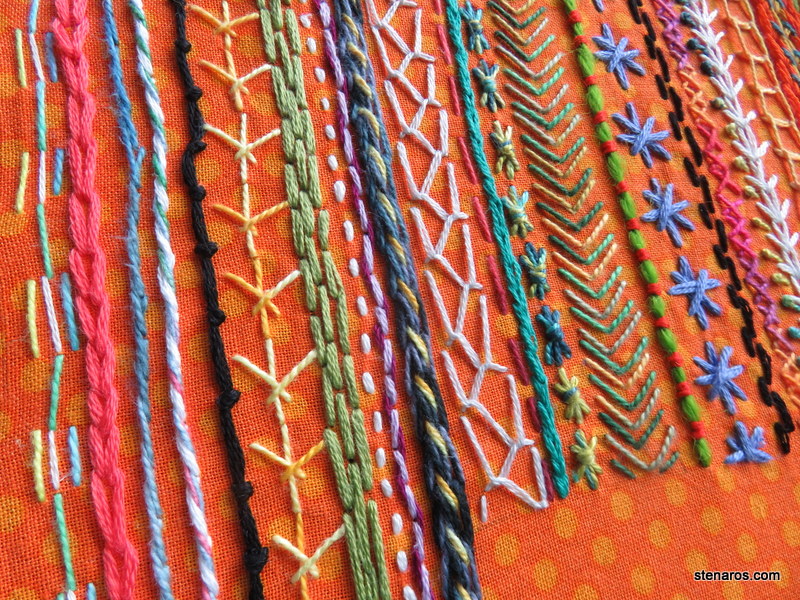
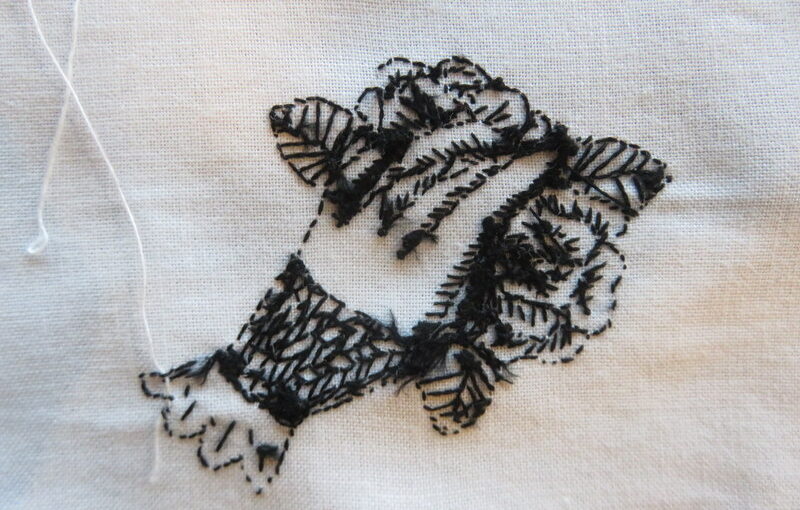
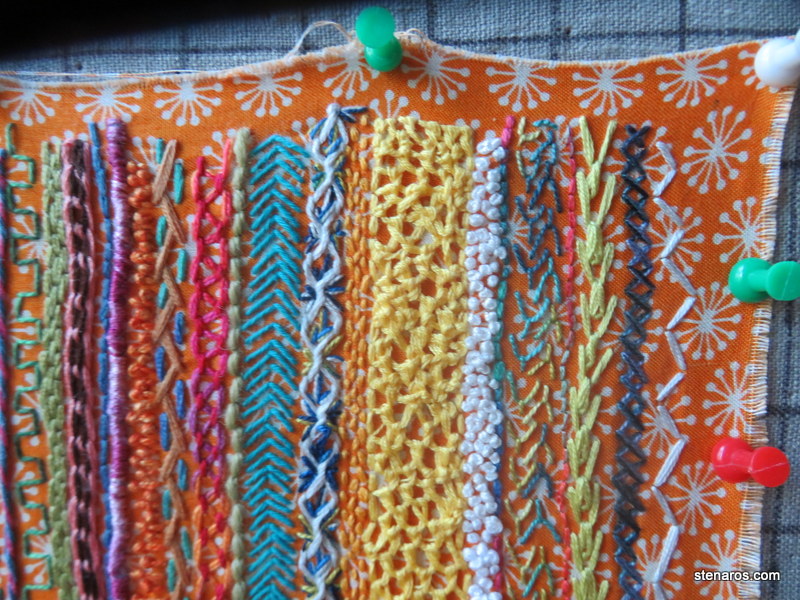
Here is a closeup of the right side. The yellow floss eater also came from Pop-Up Embroidery. I wasn’t very good at it. And then, for some reason, I decided I needed to make a billion figure-eight knots right next to it. You can see that the final bits were stitches that didn’t take long to make.
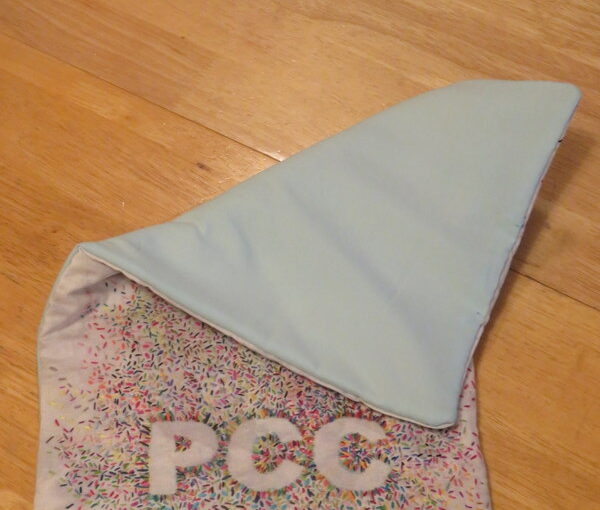
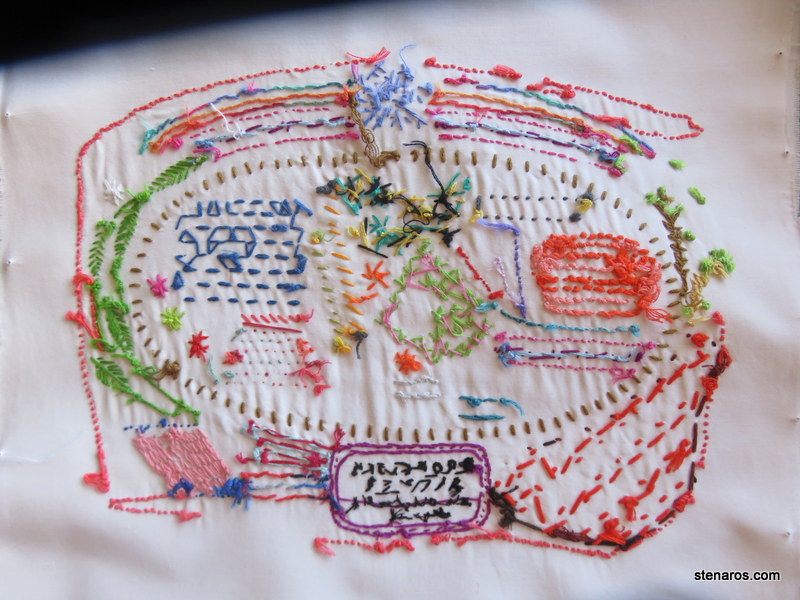
The back, for those who enjoy.
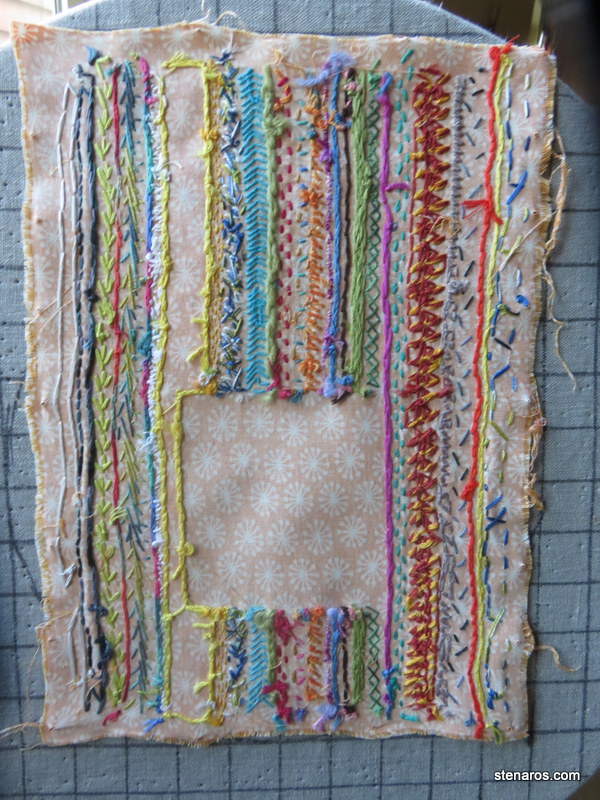
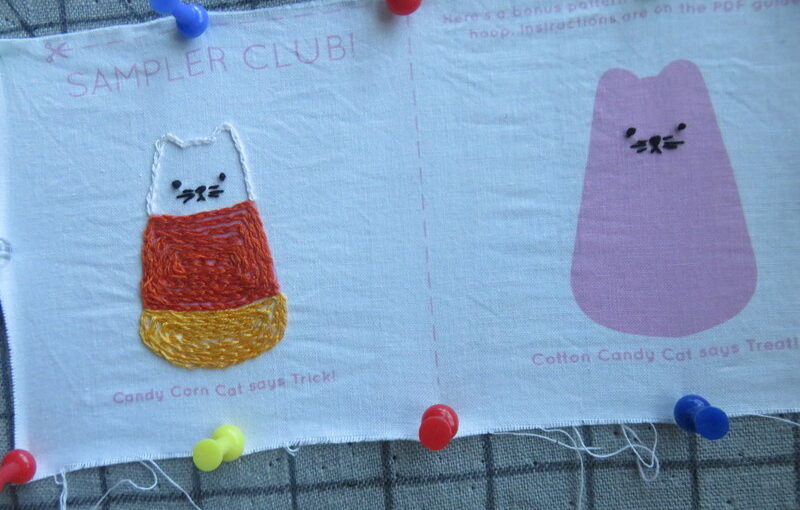
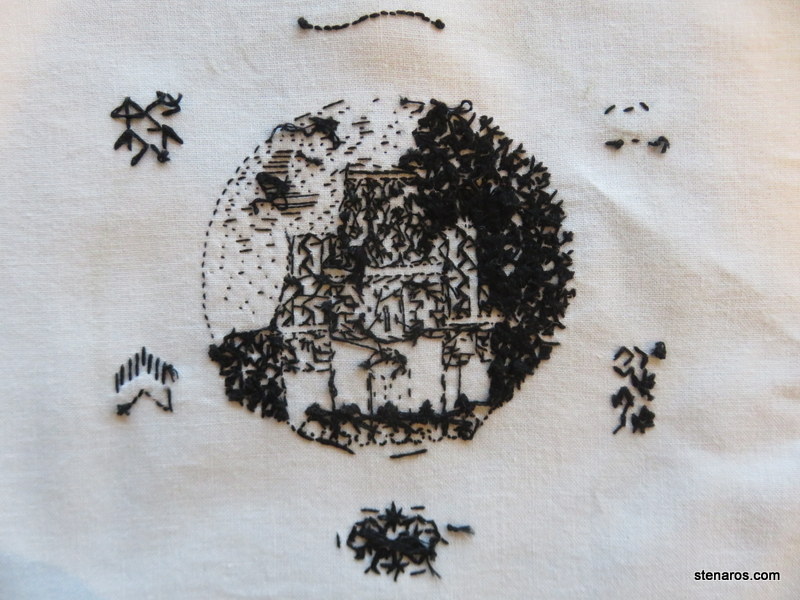
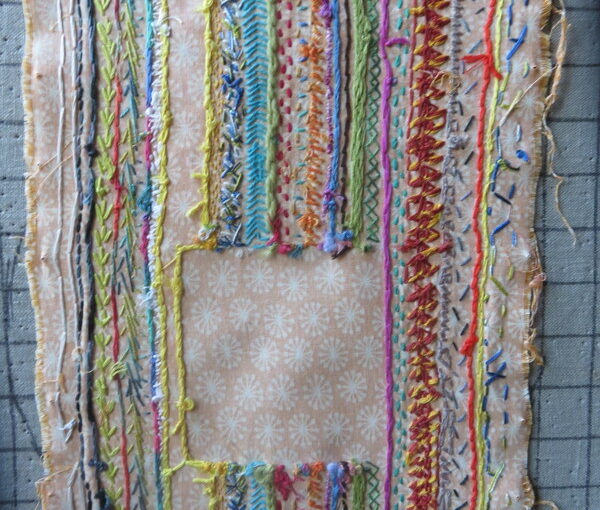
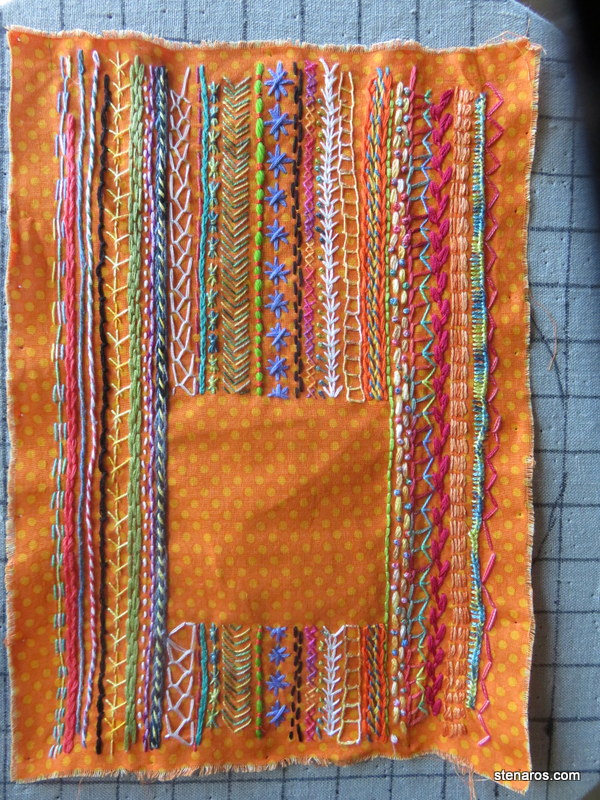
When I published the side two post, I discovered that I never chronicled side one, so here is side two:
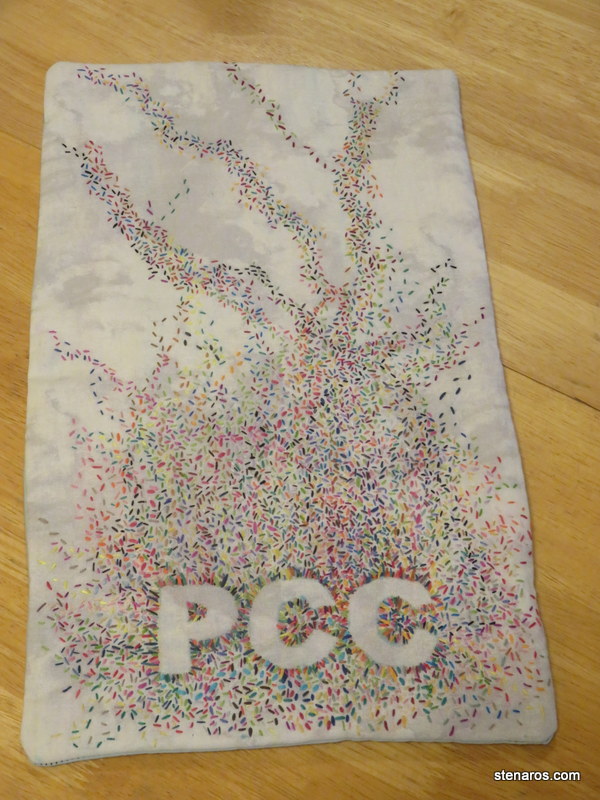
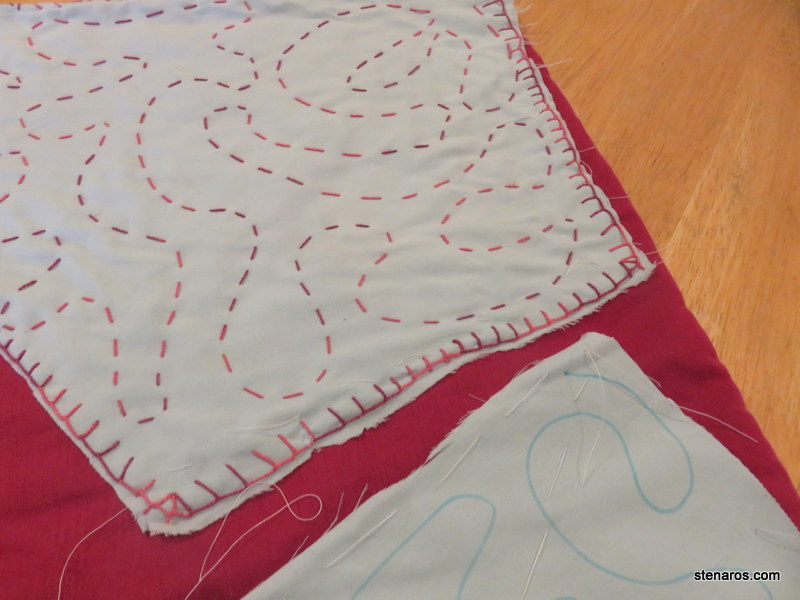
And here is side one. I initially thought this project would be a good one to use up the bits of thread I had left from other projects, but I only had to run out of thread one time before I reached the top to abandon that plan. (You can see the little lime running stitch next to the white chainstitch in the middle not quite making it to the top.)
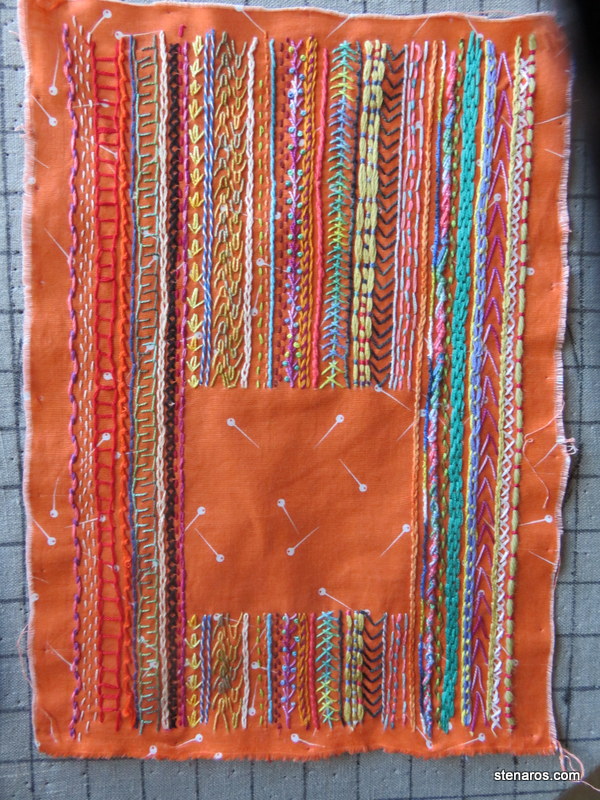
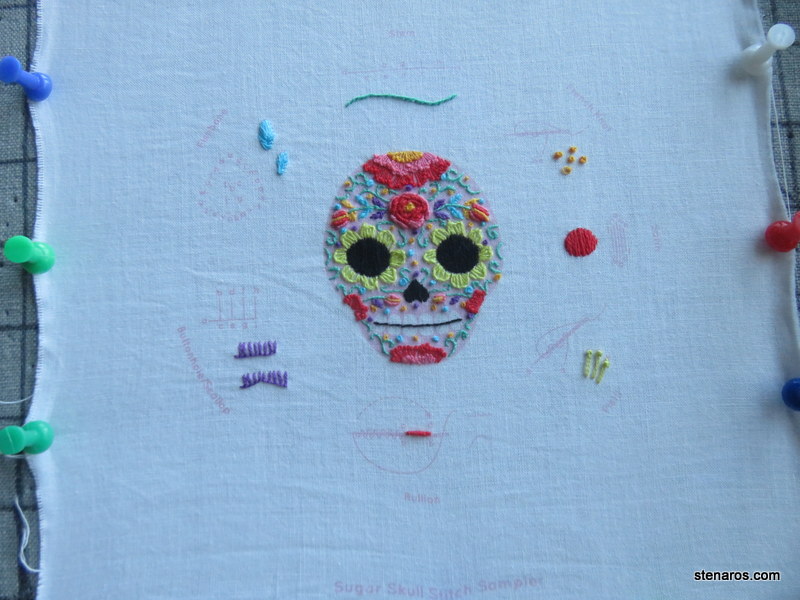
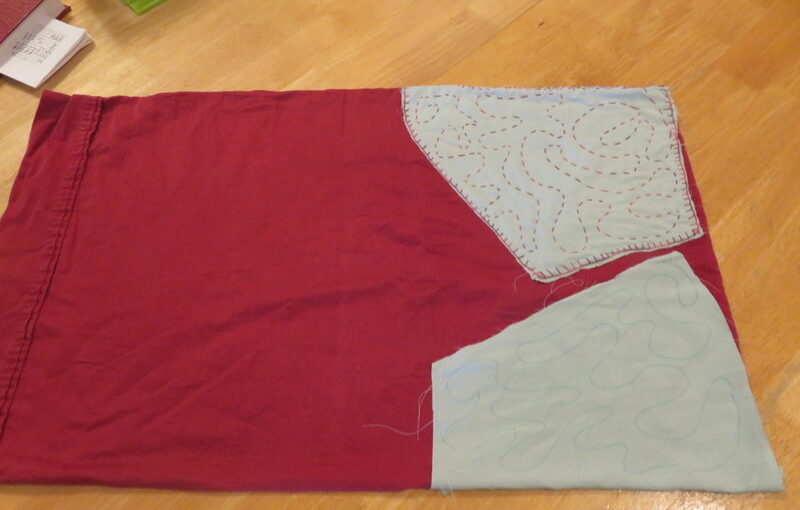
I also learned by doing. It’s best to start on one side and work to the other side. I initially added a line here and there, but didn’t like how much some of the things were getting beat up from the hoop, so everything after this panel was worked left to right.
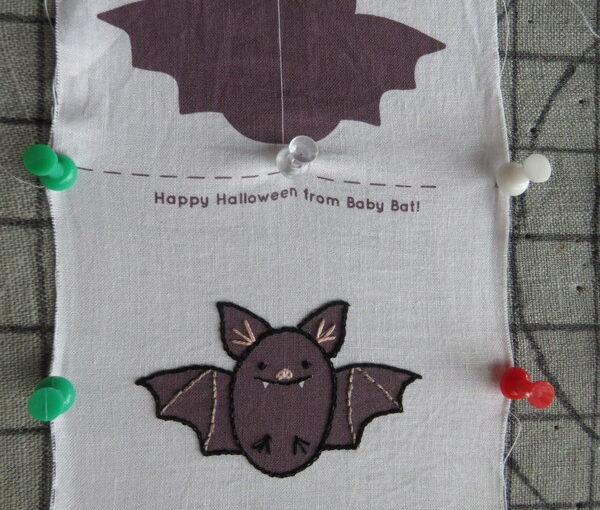
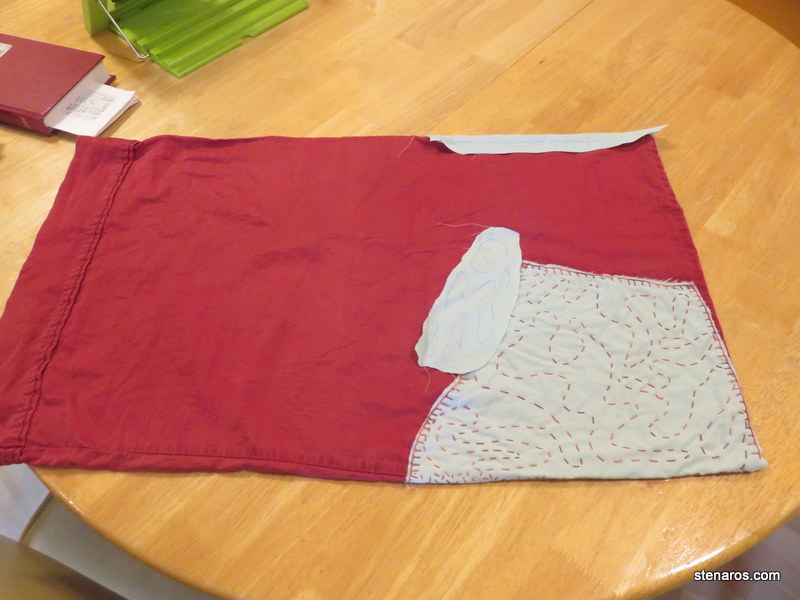
One more panel to go! (And then I still have to make the bag…)