Moneta Work Uniforms. Tricks

Oh, Wonder Tape. I love you so.  My days of fabric slipping around when I try to hem are over!  I used Wonder Tape on all hems in this project: neck, sleeves, skirt.  It’s one of those supplies I might have eschewed back in the day (why do you need this when you can use pins and do without it) but now that I’m an old, jaded sewist, I’ll take anything that makes some regular task easier.

Book reading: Lloyd Kahn, Tiny Homes on the Move.

I didn’t realize until he started talking, that this guy was one of the people involved with the publishing of the book Stretching, which I’ve used for years.  If I had picked up on that fact, I would have brought my very used copy.  He even had the Stretching software installed on his computer, which I have used in the past.  
In Tiny Homes on the Move, we got a slide show of exactly that.  Many people in the audience were tiny homes enthusiasts and so it was amusing when people asked specific questions about tiny home construction, only to hear the author himself wasn’t a tiny home enthusiast himself.
I enjoyed that two people in the audience both wore hot pink and also sat near each other.

Moneta Work Uniforms. Tricks.

I liked the tip in the Mabel sew along, to mark your pieces with tape while you are sewing, so I did so with this project.  This is telling me this is the front (or possibly back) bodice.  I also marked my center front and center back as it is easier to do that now rather than after the pieces are joined.  Those other lines are just drawing attention to the tabs I’ve cut into the fabric.

The instructions have your join the front and back bodices and the edges of the sleeves and then finish the edges.  I find it so much easier to do BEFORE joining.  This way I’m not serging in the round.

Cutting and marking uniform dresses.

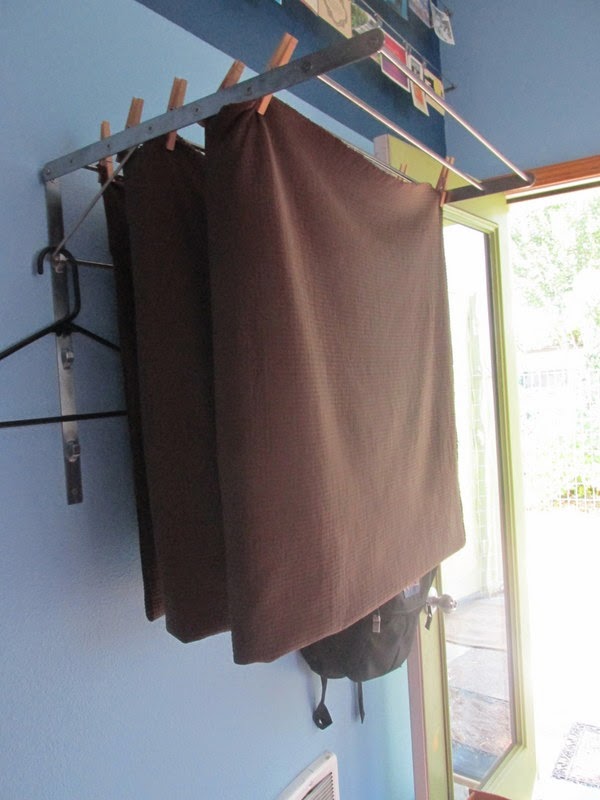
My good technique of what to do with material after you take out out of the dryer, but before you are ready to cut it.

I tried rolling it to preserve the matched selvages.  It was a so-so solution. Sentinel supervises.

Laying out the material.  There are two pieces because I didn’t buy enough the first go-round leaving me nervous for the next few days until I could get back to the fabric store.  Happily, this is a very nondescript fabric, so it was still there.  Also, in the longer strip of material, I have marked a point in the fabric with two clothespins.  This was because I didn’t notice one of those little plastic tag things (the kinds that carry the price tags on most clothing) before I washed and dried this material and said little plastic thing caused a huge snag.  So I had to work around that.  It was fine, though.  I had enough.

I am trying a new marking tool this time:  The Clover Pen.
My review?  Best marking device I’ve come across. And I’ve tried a lot.  It’s full of chalk (you can get blue, yellow and pink, plus refills) and at the bottom is a tiny little wheel which rolls along the fabric and spits out a fine line of chalk.  It would get clogged at times, because of the fabric, but I couple of good taps cleared the clog.  This will become my go-to marking pen for the foreseeable future.