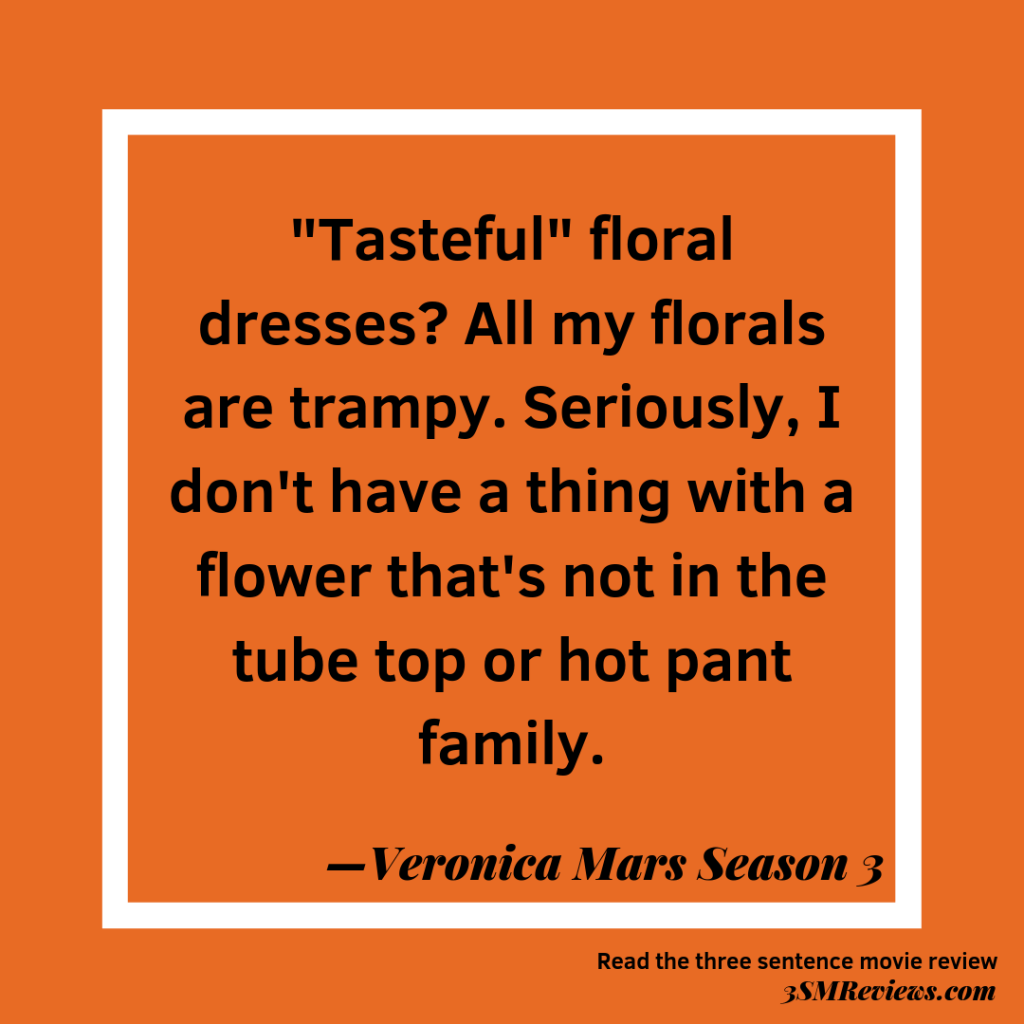
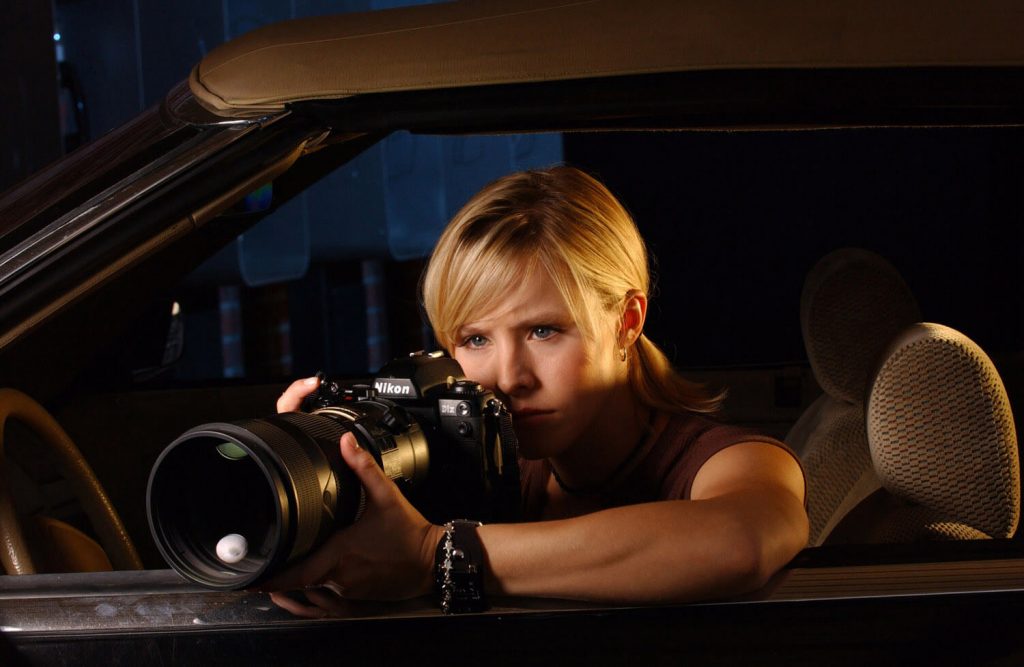
Veronica Mars Season 3 is hampered by the fact that only 12 episodes were ordered and then 8 more were added, so there is no through-line mystery. But no matter, this season is the best season to see how the characters’ best and worst qualities are working for them as they head toward being functioning adults.* There are mysteries, more new characters and a gasp-inducing fight scene that always has me questioning the bad-boy aesthetic.
The verdict: Recommended.
Cost: Currently streaming on Hulu, also available at your library and in DVD box sets Where watched: at home
*In this round of viewing it’s also the season where I realized that while I would want to be on Veronica Mars’ good side, she would be a hard person to be friends with. And a terrible person to be in a relationship with.
Favorite IMDB trivia item:
Creator Rob Thomas said that Ryan Hansen’s character Dick Casablancas was not originally meant to be a series regular. He was first cast for the second episode, as a nameless, rich Neptune resident with one line (“Logan!”). Thomas said that they read many young actors for the line, and when it came down to a choice between Hansen or another actor, they cast Hansen purely because he had “good hair”.
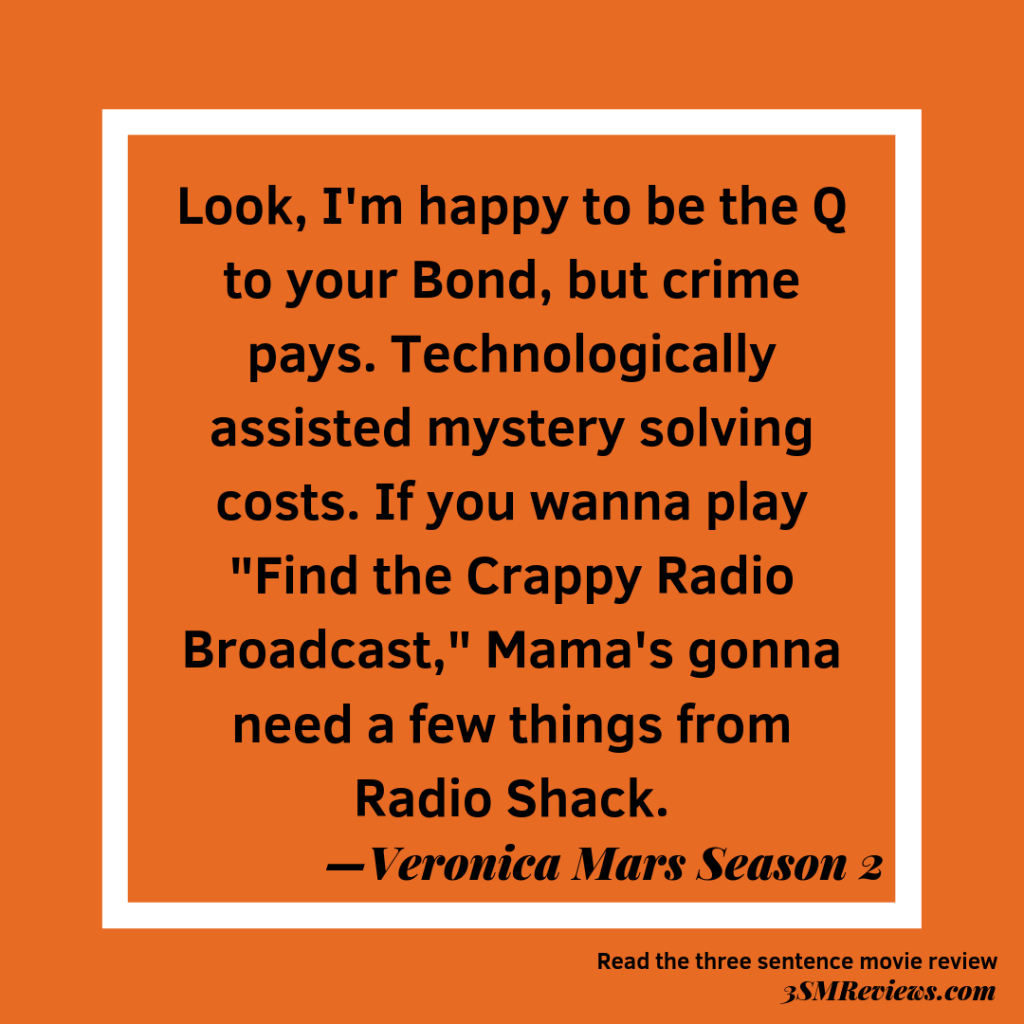
Veronica Mars Season 2 doesn’t have the excellent season-long mystery that Season 1 does*; what it excels in is Logan/Veronica banter. It’s also the season where we see the extent of the corruption in her town of Neptune, California. At this point the cast has really gelled and easily absorbs a few new characters.
The verdict: Recommended
Cost: Currently streaming on Hulu, also available at your library and in DVD box sets Where watched: at home
*Though Season 2’s main plot arc is worthy; it’s just not as nuanced as Season 1
Favorite IMDB trivia item:
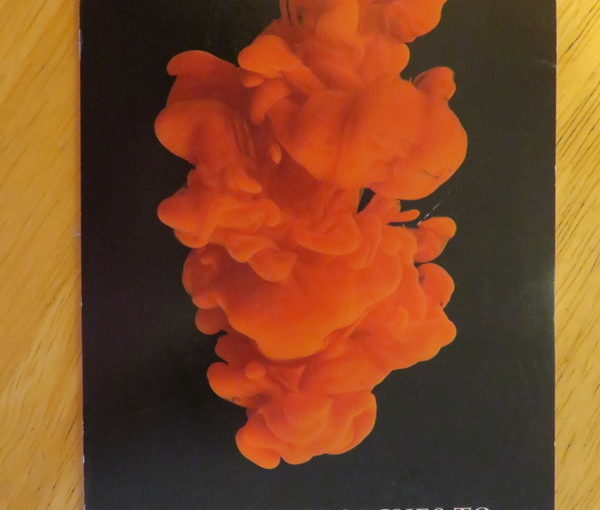
The sticker of the black circle with the bananas in the middle on Veronica’s locker is the album cover of The Dandy Warhols. The album features the theme song “We Used to Be Friends”. (Fun fact: Matt his his own version of this song he sings as the opening credits roll.)
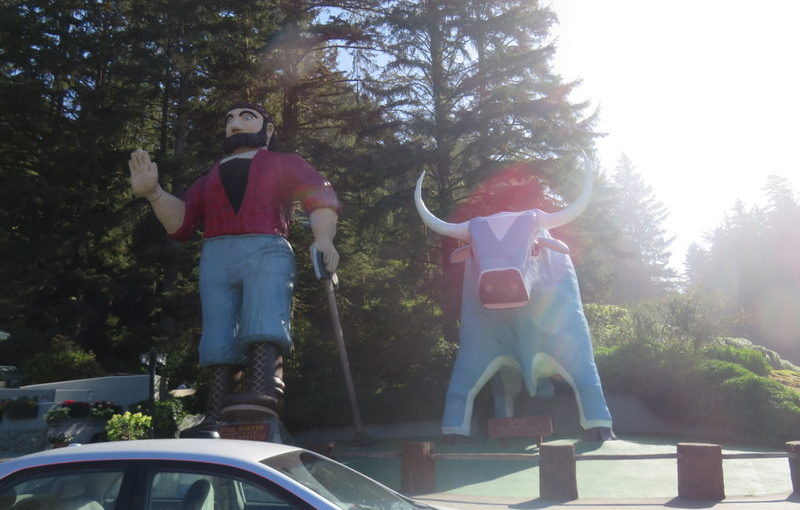
I’ve been Oregon County Fair–curious for many years now, and the date finally made it on the calendar. It happened to be the 50th year of that hippie celebration outside of Eugene.
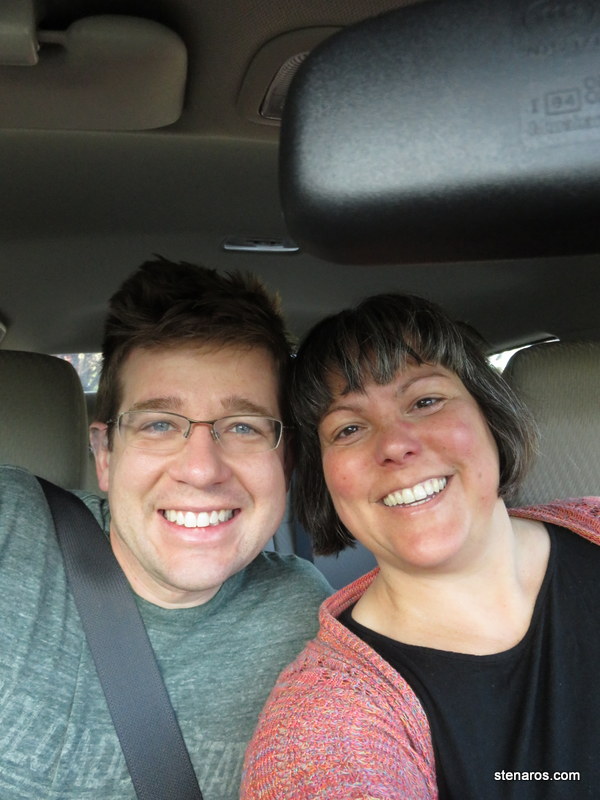
We left early for Eugene.
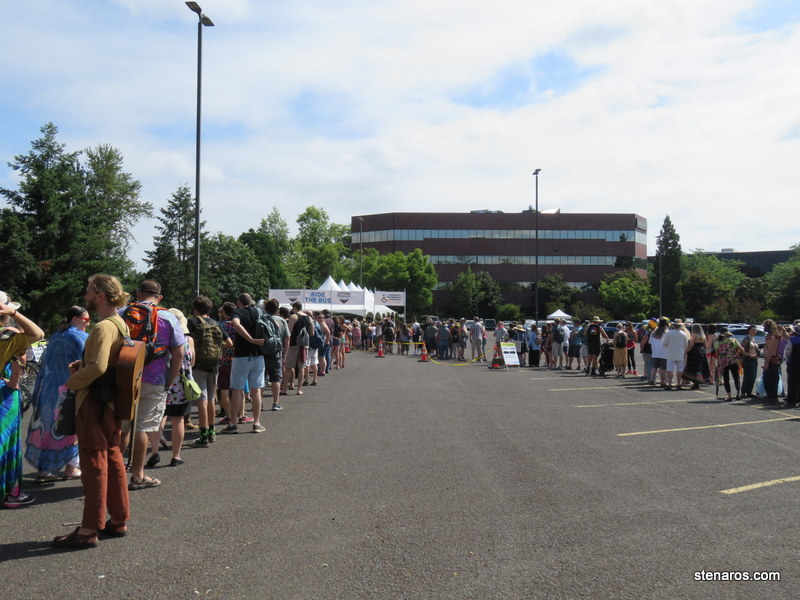
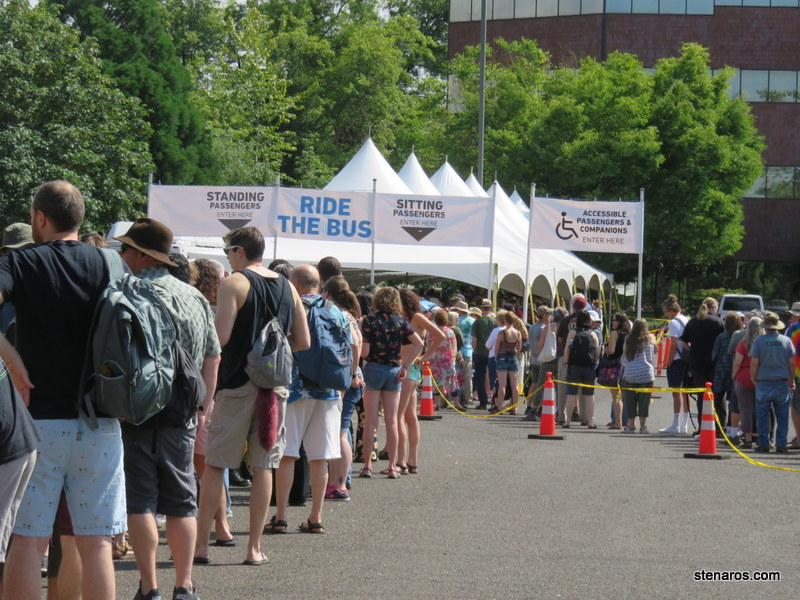
I had read it was best to take a shuttle from Eugene to the fair site and I timed our arrival to just before the first bus. That was a mistake. If you want to get to the fair at the opening time, arrive very early for the shuttles.
We chose the standing line, which was moving faster than the sitting line. The lines were very organized, and the shuttle buses came quickly.
I had envisioned the shuttle bus ride to be 10-15 minutes. It was about 45 minutes. When we arrived, we picked up our wristbands (another smooth process) and then there was a bit of confusion as to where to go to get in.
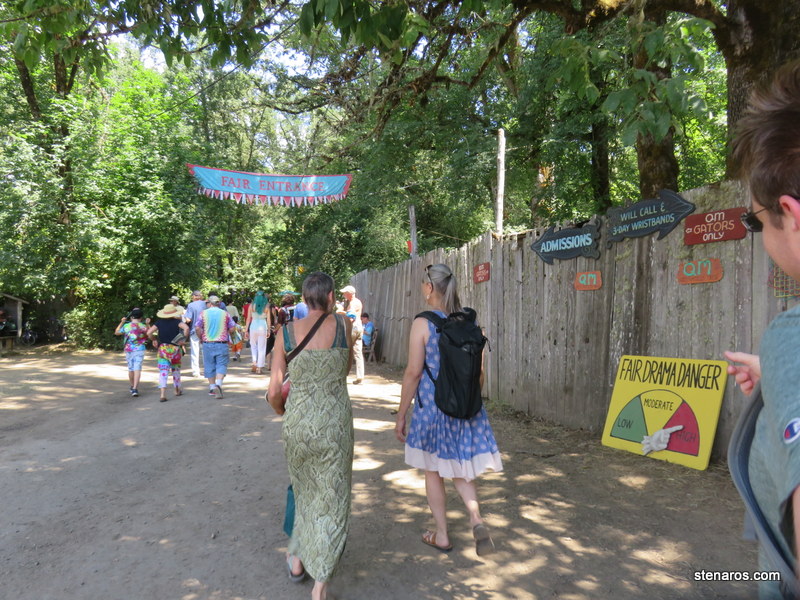
We walked to the back of a very long line that didn’t seem to be moving and as we got nearer to the end of the line a gate (maybe one outside a parking lot?) was suddenly thrown open and a roiling boil of not-happy people surged toward the end of the line.
We ran so we could be in front of them, and a mostly orderly–but still angry–queue formed behind us. Soon after, the long line started moving very fast and we made it into the Fair.
That was the only ugly moment of the day. Fair volunteers were super happy and welcoming and things moved smoothly, especially considering the number of people in a small space. However, it did feel for a moment like there was going to be a hippie riot. Which is probably a pretty low-key riot.
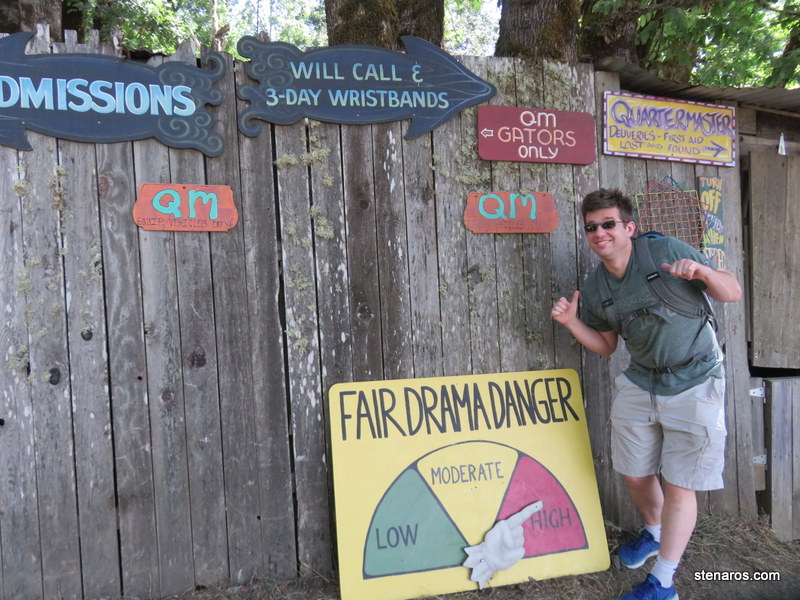
Matt poses next to the Fair Drama Danger sign.
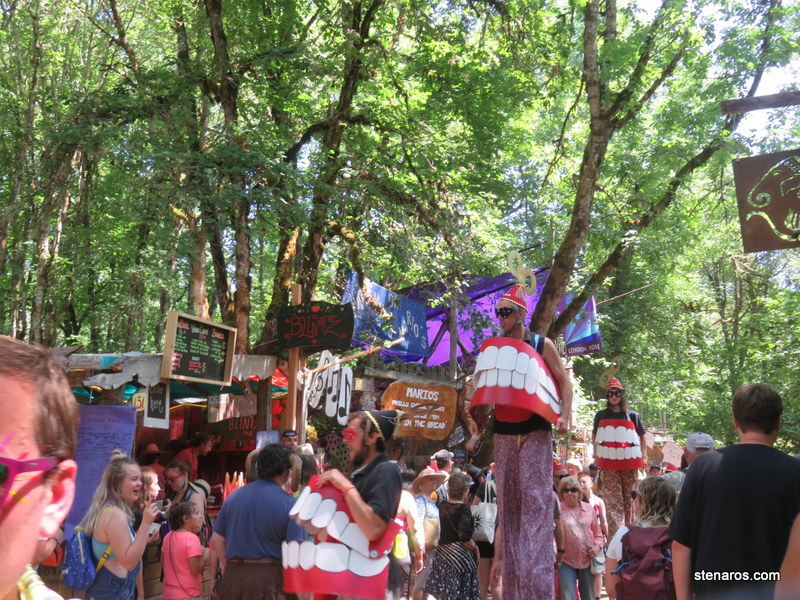
A random happening: stilt walking teeth people.
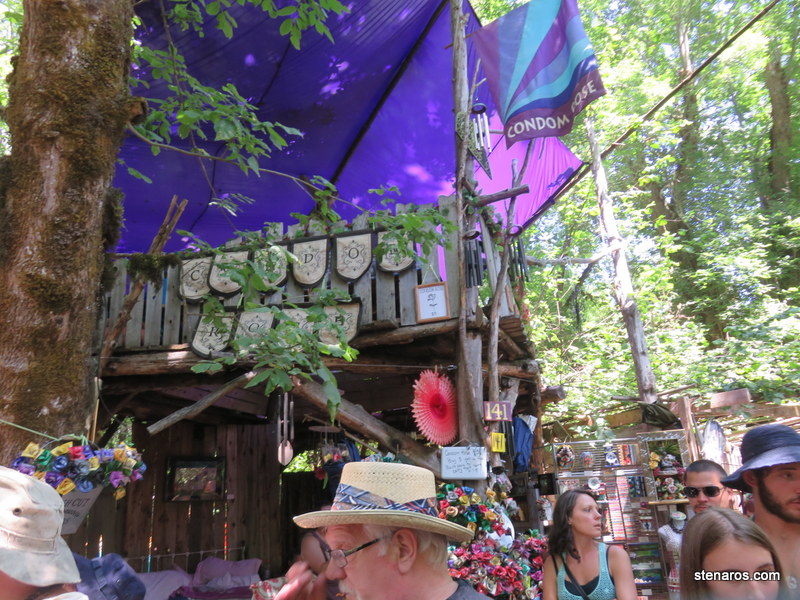
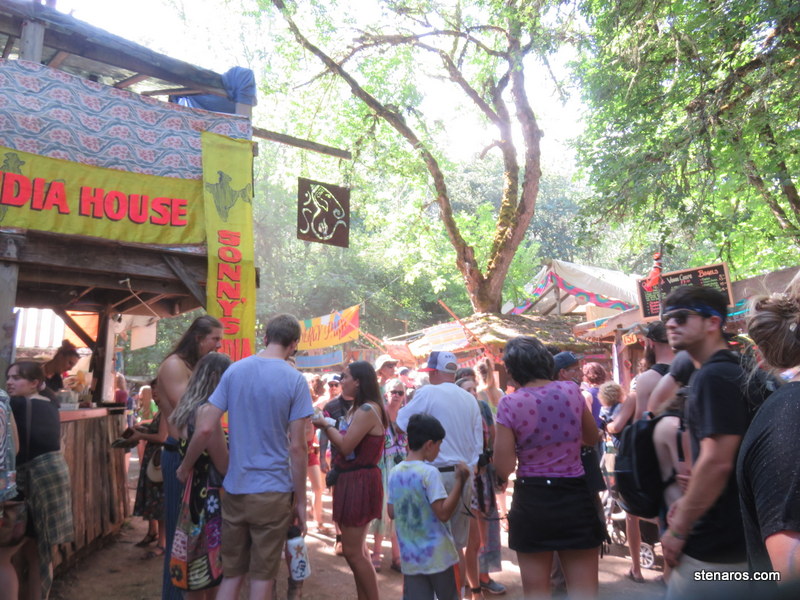
The fair is a lot of booths and a goodly amount of stages. One of the things I loved was that most of the booths were semi-permanent structures with platforms where booth people and their friends could hang out above the fray. It was fun to see what’s been built up over the years.
Also: condom roses. And I think there were four different booths I saw selling fantasy horns.
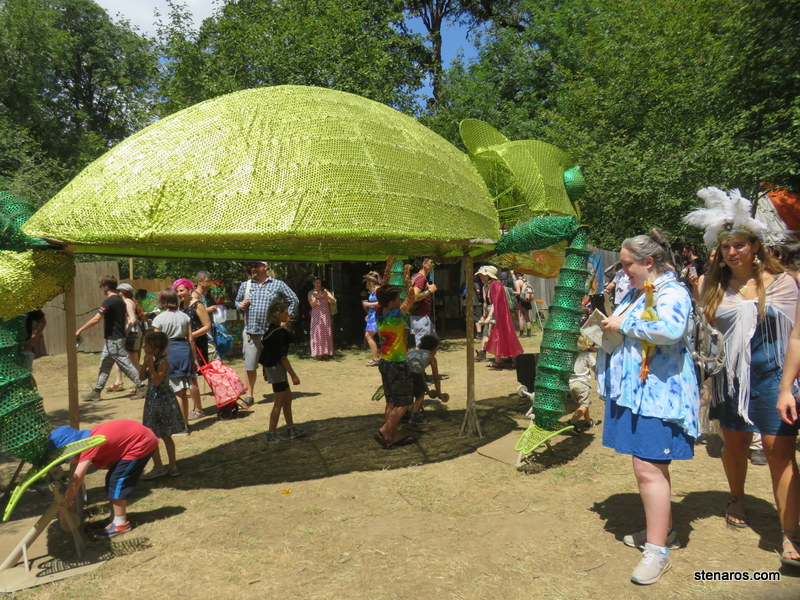
Here’s a fun sculpture in an open meadow space.
We checked out the Charlie Brown Comedy Juggling Show. His shtick was that he wasn’t very good at doing comedy juggling shows. But he was. It was quite entertaining.
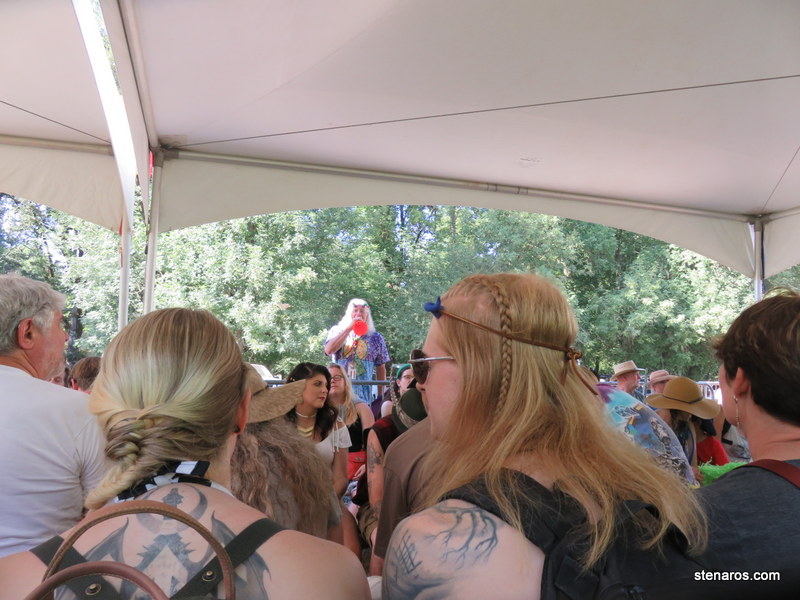
Here’s a glimpse of fairgoers. This group skewed older, but the costumes, and tie-dye were pretty standard across ages.
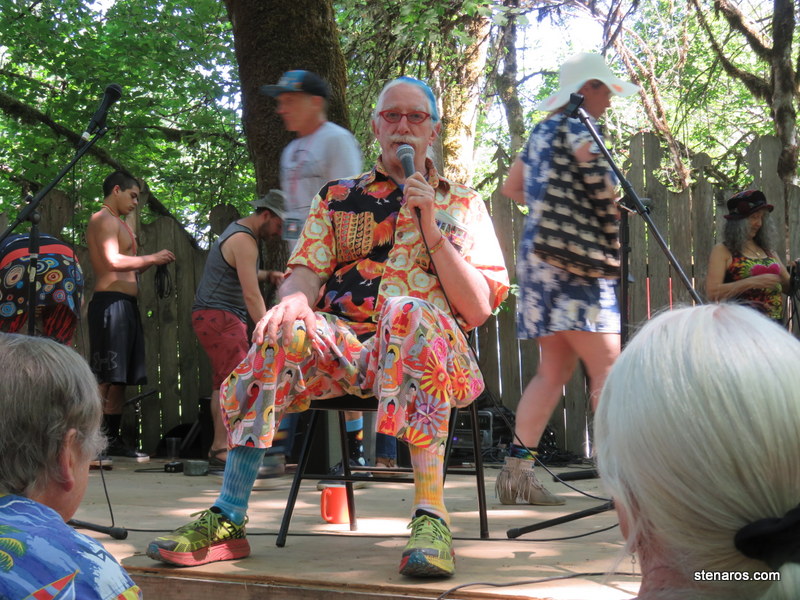
We went to the Spirit Tower to see Patch Adams, and caught the end of the Ace of Cups concert. Which was amazing, and I don’t have any pictures because they were being blocked by a tree. I’ve lived more than four decades and this is the first time I’ve seen a live band whose members consist of women. And apparently they “were at the epicenter of the ‘60s cultural and social revolution. ” This was a big win.
Patch Adams was also good. He discussed his approach to changing the American healthcare system. It was great to be able to see a living legend.
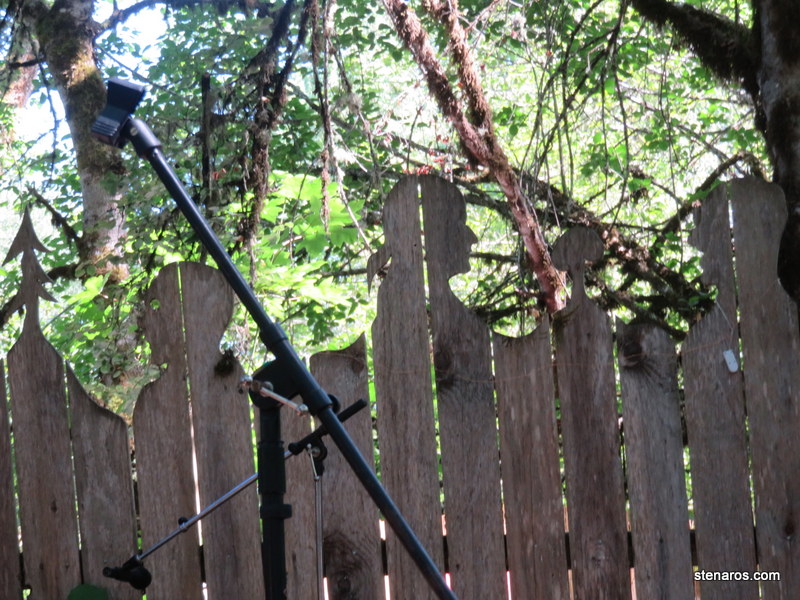
More fun fair details. Why have a standard fence, when you can instead have a fun fence?
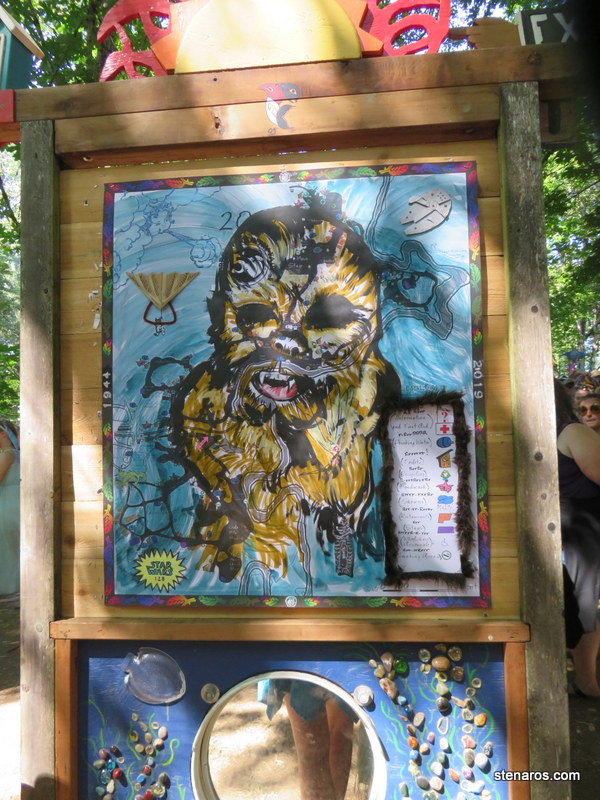
Throughout the fair were maps in different styles. This one was perhaps my favorite fun, though less legible than others.
We didn’t have a strategy for going to shows, which would be something to revisit for our next visit. But we did sample the food and the food is amazing! It’s the best fair food I’ve ever eaten. Many of the vendors return year after year. Because this was the 50th year, there were vendor stories at some of the booths. The falaful booth we visited has been there for three generations. (And one of the oldest members waved a wand over our strawberry lemon aid to give it that final Fair touch.)
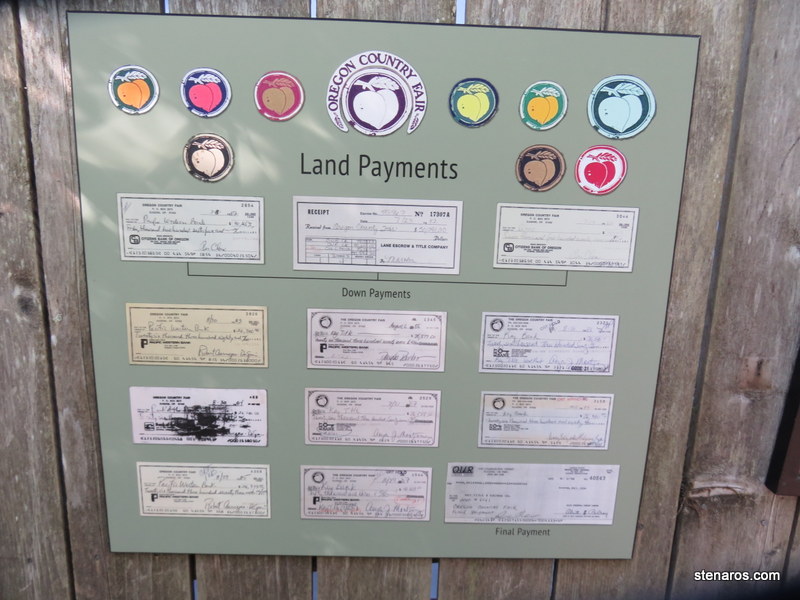
I always love a good land payments display.
This fair is one weekend a year and mostly volunteer run. I marvel at the organization and commitment of the people who make it happen.
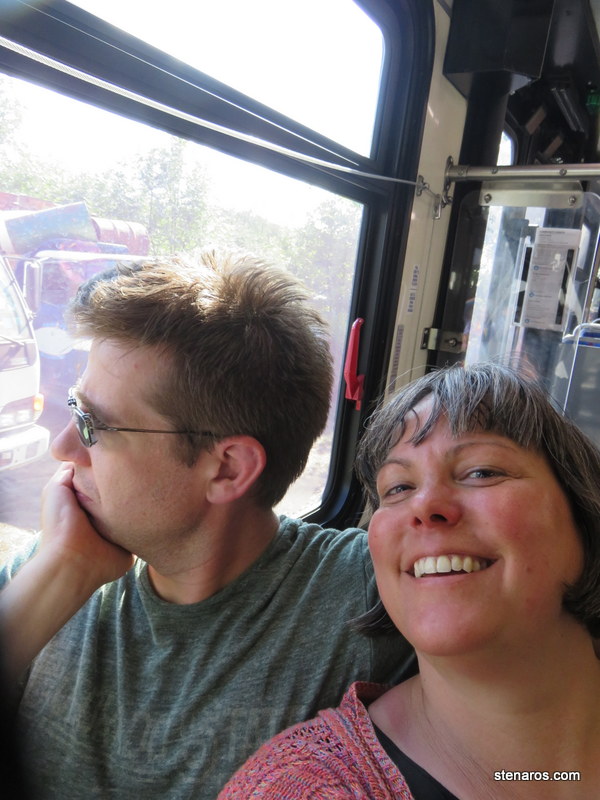
Waiting for the shuttle back. Volunteers told us jokes and helped everyone sit in an efficient manner (always appreciated.)
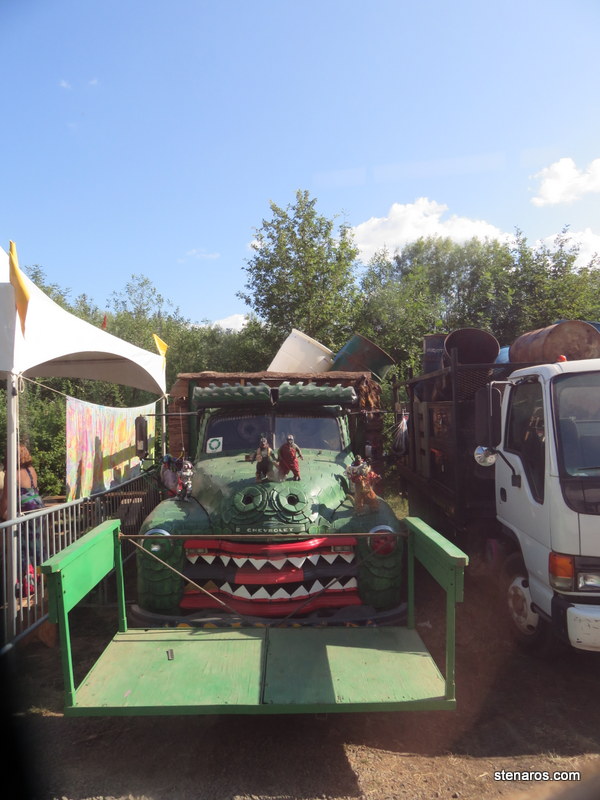
Car art.
Our seat on the bus. I opted for sitting on the way back. It was a long day.
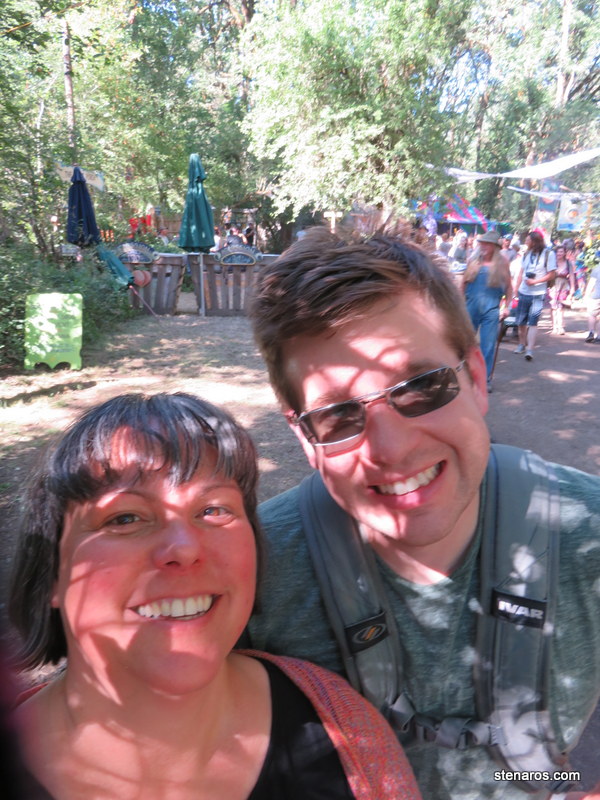
“You don’t have to dress like a hippie to have your photo taken at the Oregon Country Fair.” So said the guy as we were standing in line for our photo booth photo.
That comment caused a raised eyebrow, but I loved that they had a free photo booth.
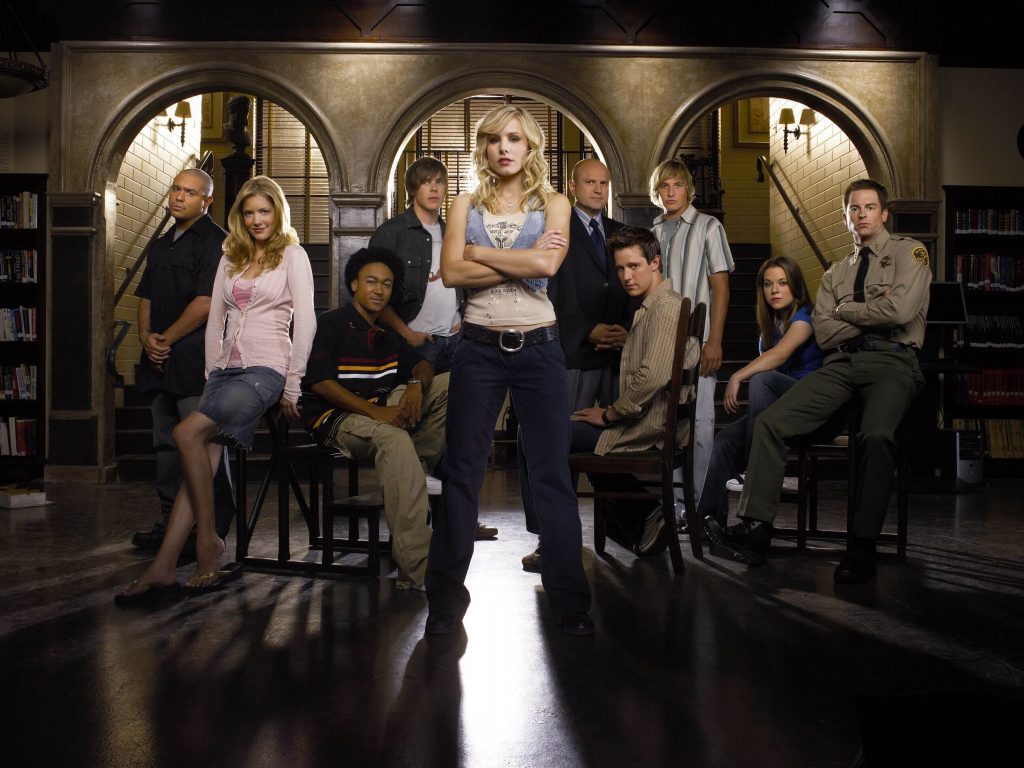
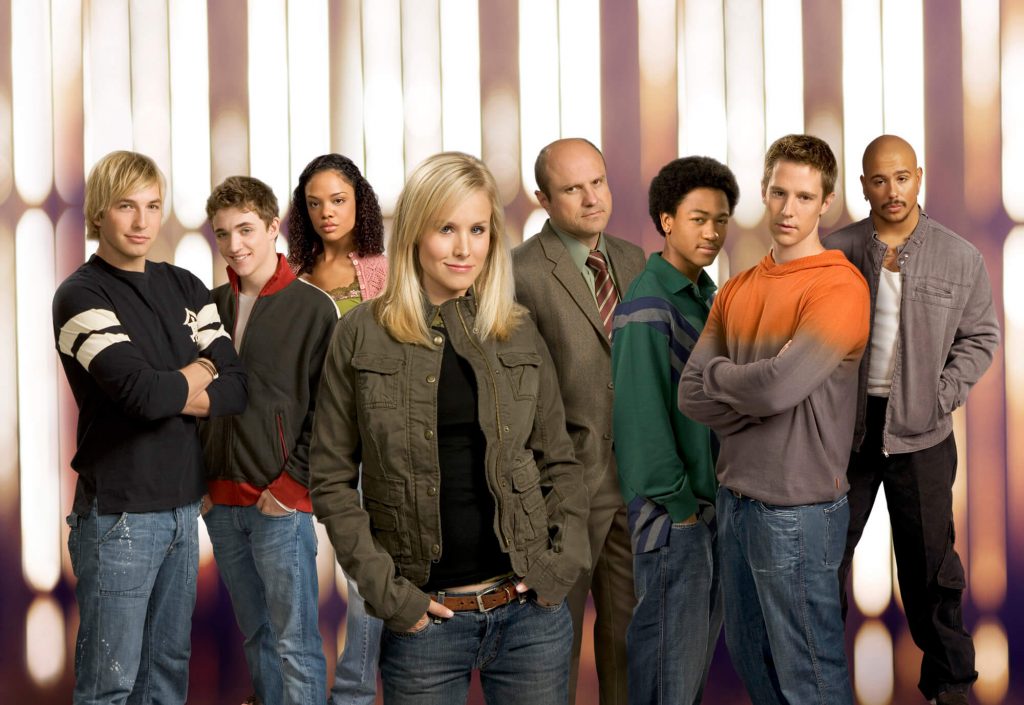
Rob Thomas created Veronica Mars, and I will be forever thankful. This show has always been hard to sum up in a way that makes people want to watch it* and it’s also a show worthy of watching, especially if you care about young women coming of age.** The first season has the best season-long mystery, and it also quickly sets the foundation what’s to come including tense drama, funny quips, the best dad-daughter relationship on TV, excellent (and trying) friendships, the best bunch of side characters, and a first-name portmanteau that fans (aka Marshmallows***) are still invoking all these years later.
The verdict: Recommended
Cost: Currently streaming on Hulu, also available at your library and in DVD box sets**** Where watched: at home
*Unfortunately, Nancy Drew has cornered the market on the term “girl detective” which means when you mention Veronica is the daughter of a P.I. and is trying to figure out who killed her best friend, everyone immediately goes to a very 50s place. Whereas this is a darker, early-2000s place. **Things we talk about now, that we didn’t when the show first aired in 2004: how the trauma Veronica experienced changed her, for good and bad. ***Fans are called Marshmallows because of a thing Veronica’s friend Wallace says in the first episode ****Because you get extras and also because it has the original opening to the pilot that was not aired, but is much better.
Favorite IMDB trivia item:
UPN, the network that aired this show, was concerned during early episodes that viewers would confuse Teddy Dunn and Jason Dohring, who play Duncan and Logan. A color code was created where Dunn wore blues, and Dohring wore earth tones. The color code was maintained for the duration of the series. (Fun fact: my coworker said she still never could keep them straight.)
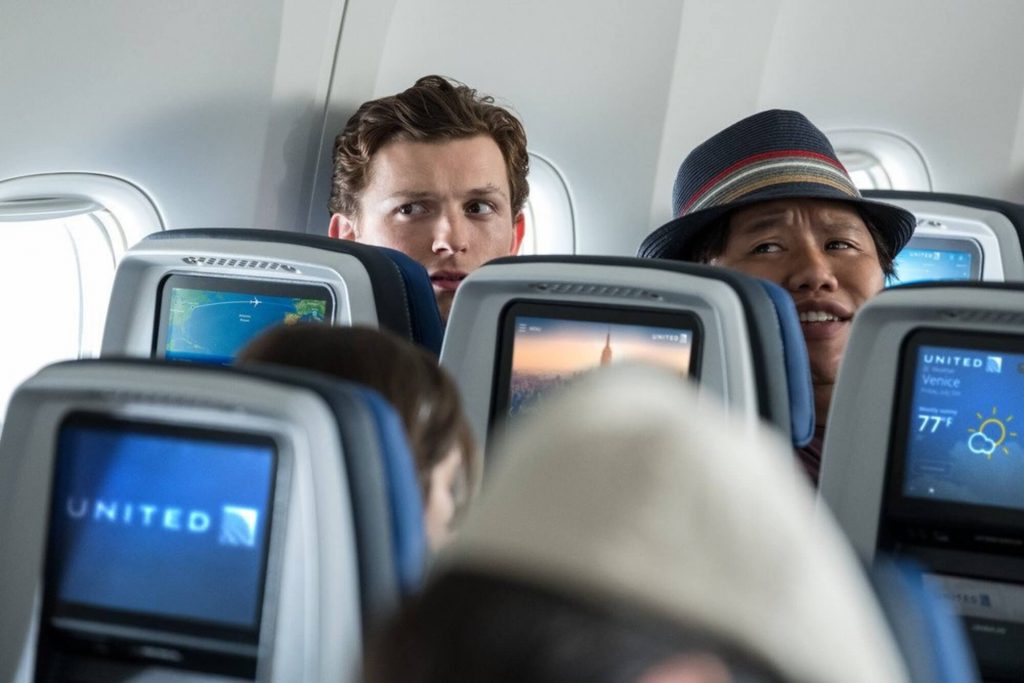
John Watt’s Spider-Man: Far From Home brims with hard choices for one very reluctant superhero.* Tom Holland continues to prove he’s the best Spider-Man ever as he makes plans to spend a summer getting away from his neighborhood and the big superhero shoes he’s stepped into since the events of Avengers: Endgame.** But that wouldn’t make for a very entertaining movie for us, now would it?***
*He is, after all, sixteen.
**He just wants to see Europe with his friends and maybe tell MJ (a delightfully frowny Zendaya) how he feels. The teen romance was totally on point in this film.
***Not to fear. Things go wrong. Spider-Man has to save the day. There are funny and clever parts.
Faviorte IMDB trivia item:
In the film, Spider-Man mentions Captain Marvel, which marks the first time a MCU character referred to Carol Danvers by that name.