When I got the bright idea to wallpaper my closet, I wondered if the fact I watched my mother wallpaper thirty to forty years ago meant that I had absorbed skills and that I could also wallpaper.
You know what doesn’t exist anymore? Wallpaper stores. I wanted to go to a store and flip through some books like I did thirty to forty years ago. I made an attempt, visiting a paint store whose website said they had wallpaper, but it turned out the wallpaper had moved to their Lake Oswego location and no one had updated the website.
What does exist now that didn’t thirty to forty years ago is the internet, the place where I bought my wallpaper, and the place where I watched five to ten videos about how to wallpaper.
One of the last videos I watched said, as if this was common knowledge, that if you have textured walls, you need to skim coat them before wallpapering. Cue watching several videos about skim coating.
My painting friend S. North pointed out that this was one and a half walls in my closet, and maybe I didn’t need to skim coat? Because I had to buy two rolls, I figured I would do one panel to see how it went with textured walls.
It was fine. If I was wallpapering the main room, I would have to skim coat, but for my purposes, the textured walls were fine.
Having put one panel up, I kept going and two to three hours later I was done! I did have the skills!
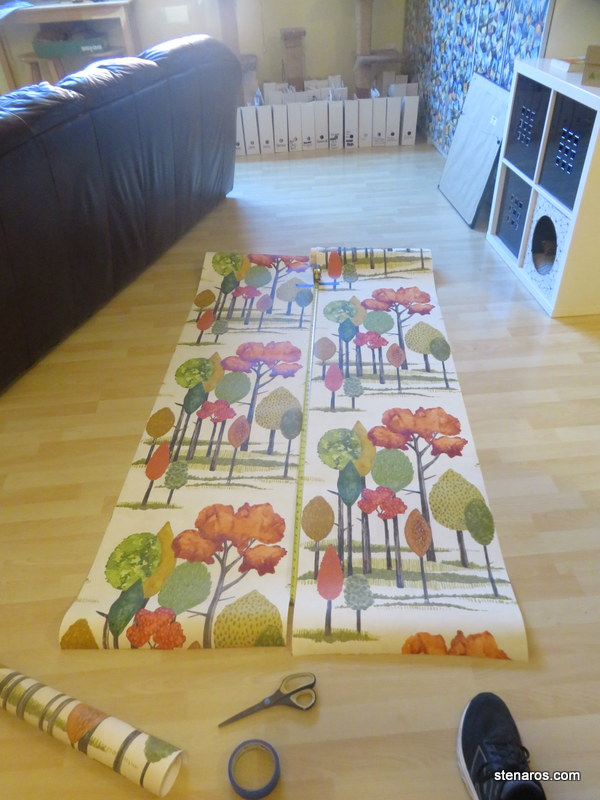
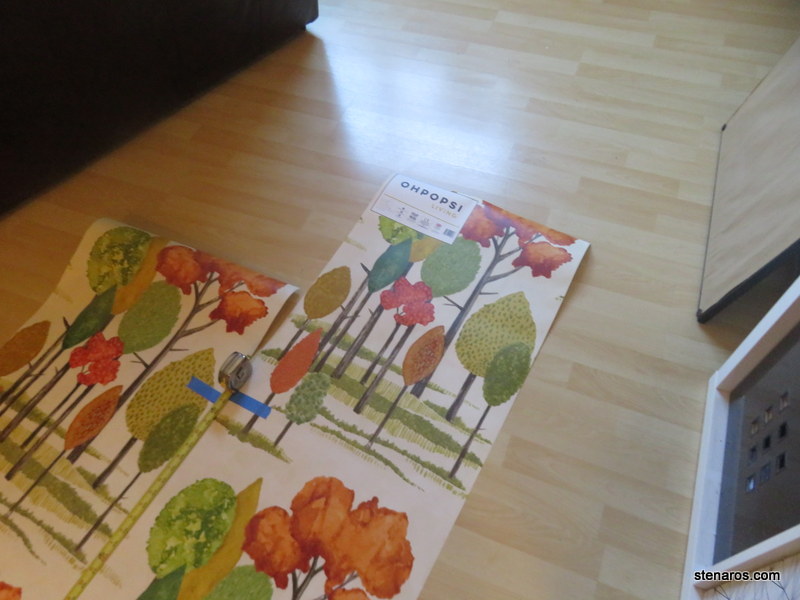
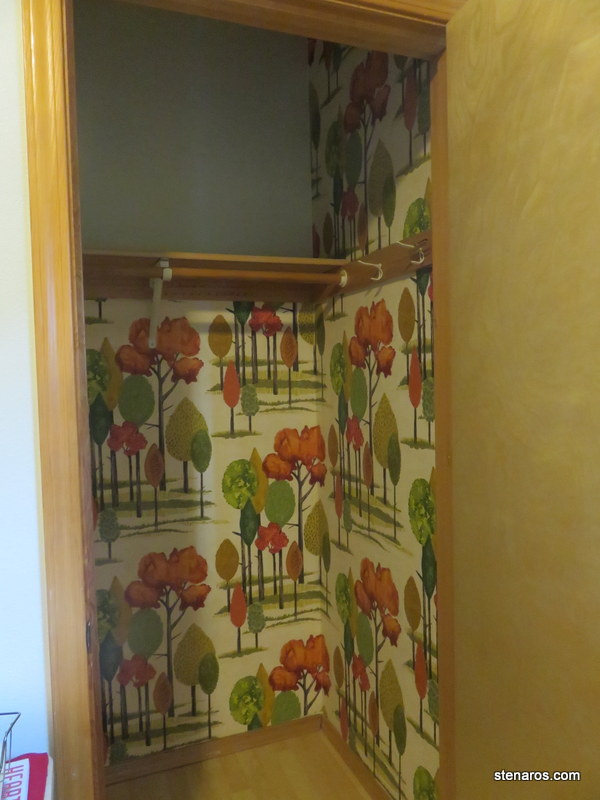
Here’s the wallpaper. I liked the trees and the autumn colors, plus there was orange to go with the green, and orange is good to work into everything.
One of the videos I watched suggested using painter’s tape to mark where the drop was, and that worked very well. This pattern had a big drop, which was annoying.
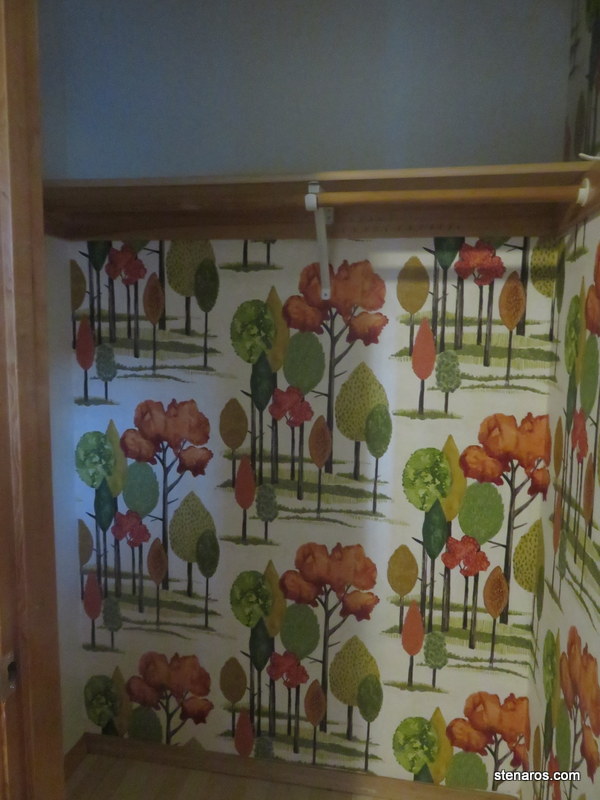
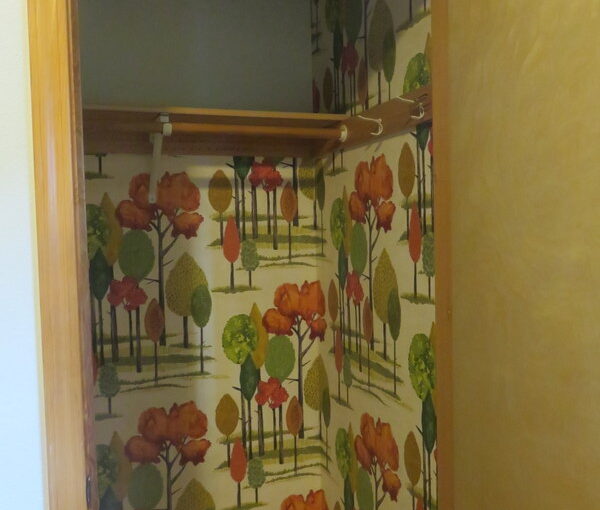
But look! Done! I hadn’t thought about what to do about that shelf support, but I took the screw at the bottom out and had Matt hold it away from the wall when I was hanging that panel. It worked great.
I probably should have watched a few more videos about turning the corner, because that was a little rough, but overall okay.
This was a super fun project (that I dithered about for quite some time before starting) and I’m pleased with the results.
Now to put the closet back together. In that first picture you can see most of the closet contents waiting to go back.
One thought on “It Turns Out I Can Wallpaper”