Category: All (-ish)
Colette Patterns’ Laurel. It’s a shirt! With the tiny ruffle variation.
Oh my gosh, do I like these shirts! I love the color, I love the tiny ruffle variation and I love how quickly they came together. I hoping that the dresses will come together quickly too, since I spent a lot of time fitting the shirts.
I especially love how the back is fitted. It’s not something I feel like I see a lot in shirts.

Are there things I would improve on, given my druthers? Yep. The top of the back is a bit too poofy and I probably could have given the bust another half inch or so. Also, the tiny ruffles like to roll and expose the bias binding, perhaps because I over stay-stitched the neckline, perhaps because it’s just too much bulk. The sleeves are weirdly puffy and I clearly have a ways to go in the setting-in-sleeves skill. But overall? Very happy.
Colette Patterns’ Laurel: Ruffles and necklines. Also, starting the first apron.
These are the millions of threads it’s smart to cut off before attaching the ruffle. Also, notice the spools of thread on the sewing machine. I’ve sewn through two spools of thread for the three shirts and I still have two more dresses to go. Back to the fabric store I went for more thread.
Postcard from Taiwan
Colette Patterns’ Laurel: Setting in Sleeves
Colette Patterns’ Laurel: Attaching tiny sleeve ruffles and setting up sleeves.
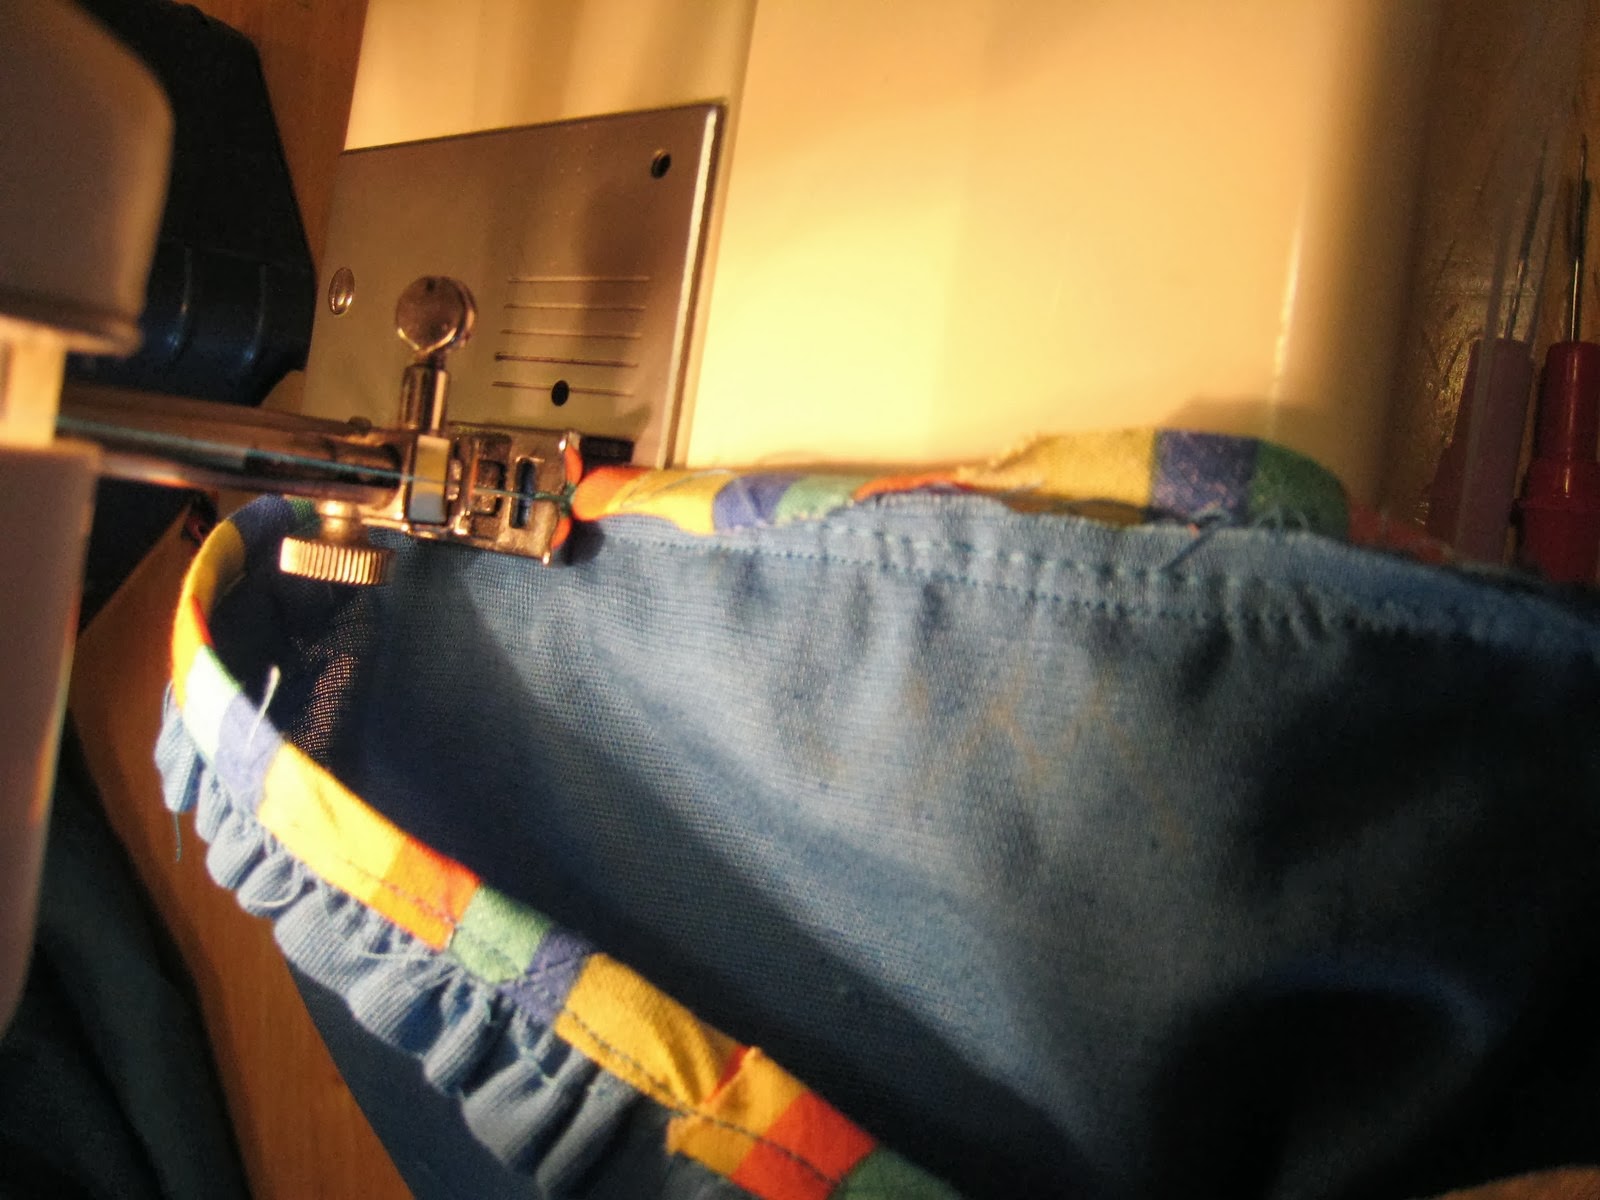
The good thing about making three of the same shirt is that there is time to improve on one’s task at hand. So it went with attaching tiny ruffles to the sleeves. I learned that I should trim all the tiny ruffles down a bit before sewing, so the millions of bits of thread don’t have to be removed later. I learned that it’s best to smoosh the ruffles so there is maximum ruffle, because that will still be enough to go around. I learned that one should attach tiny ruffles to the sleeves and then trim a lot of the bulk from the seam line, which will make it easier to attach the bias tape.
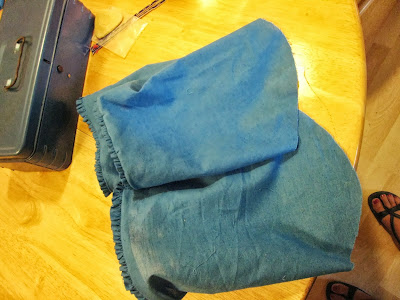
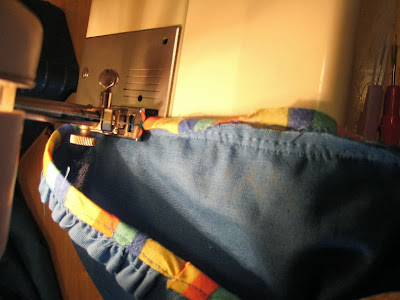
Here’s some bias binding happening. I’m noticing I still haven’t learned the trick for making sure the bias tape endings aren’t raw. But I learned that trick too.
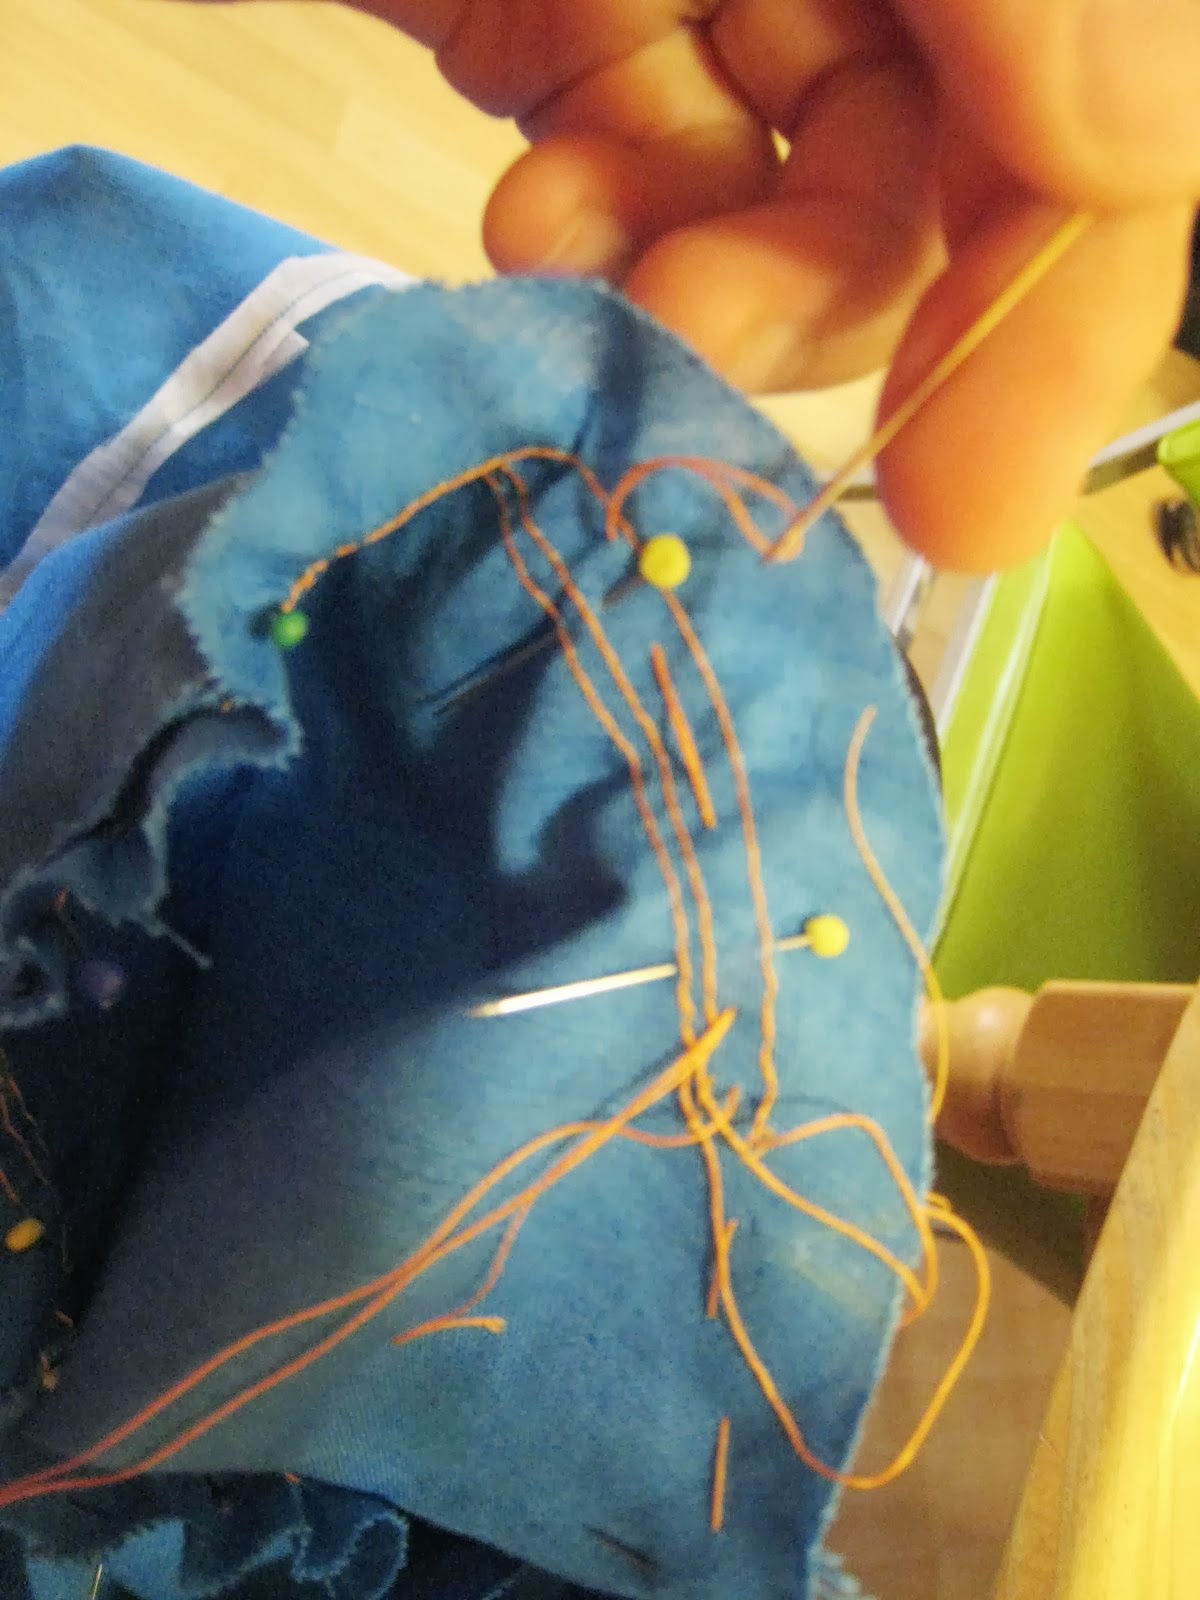
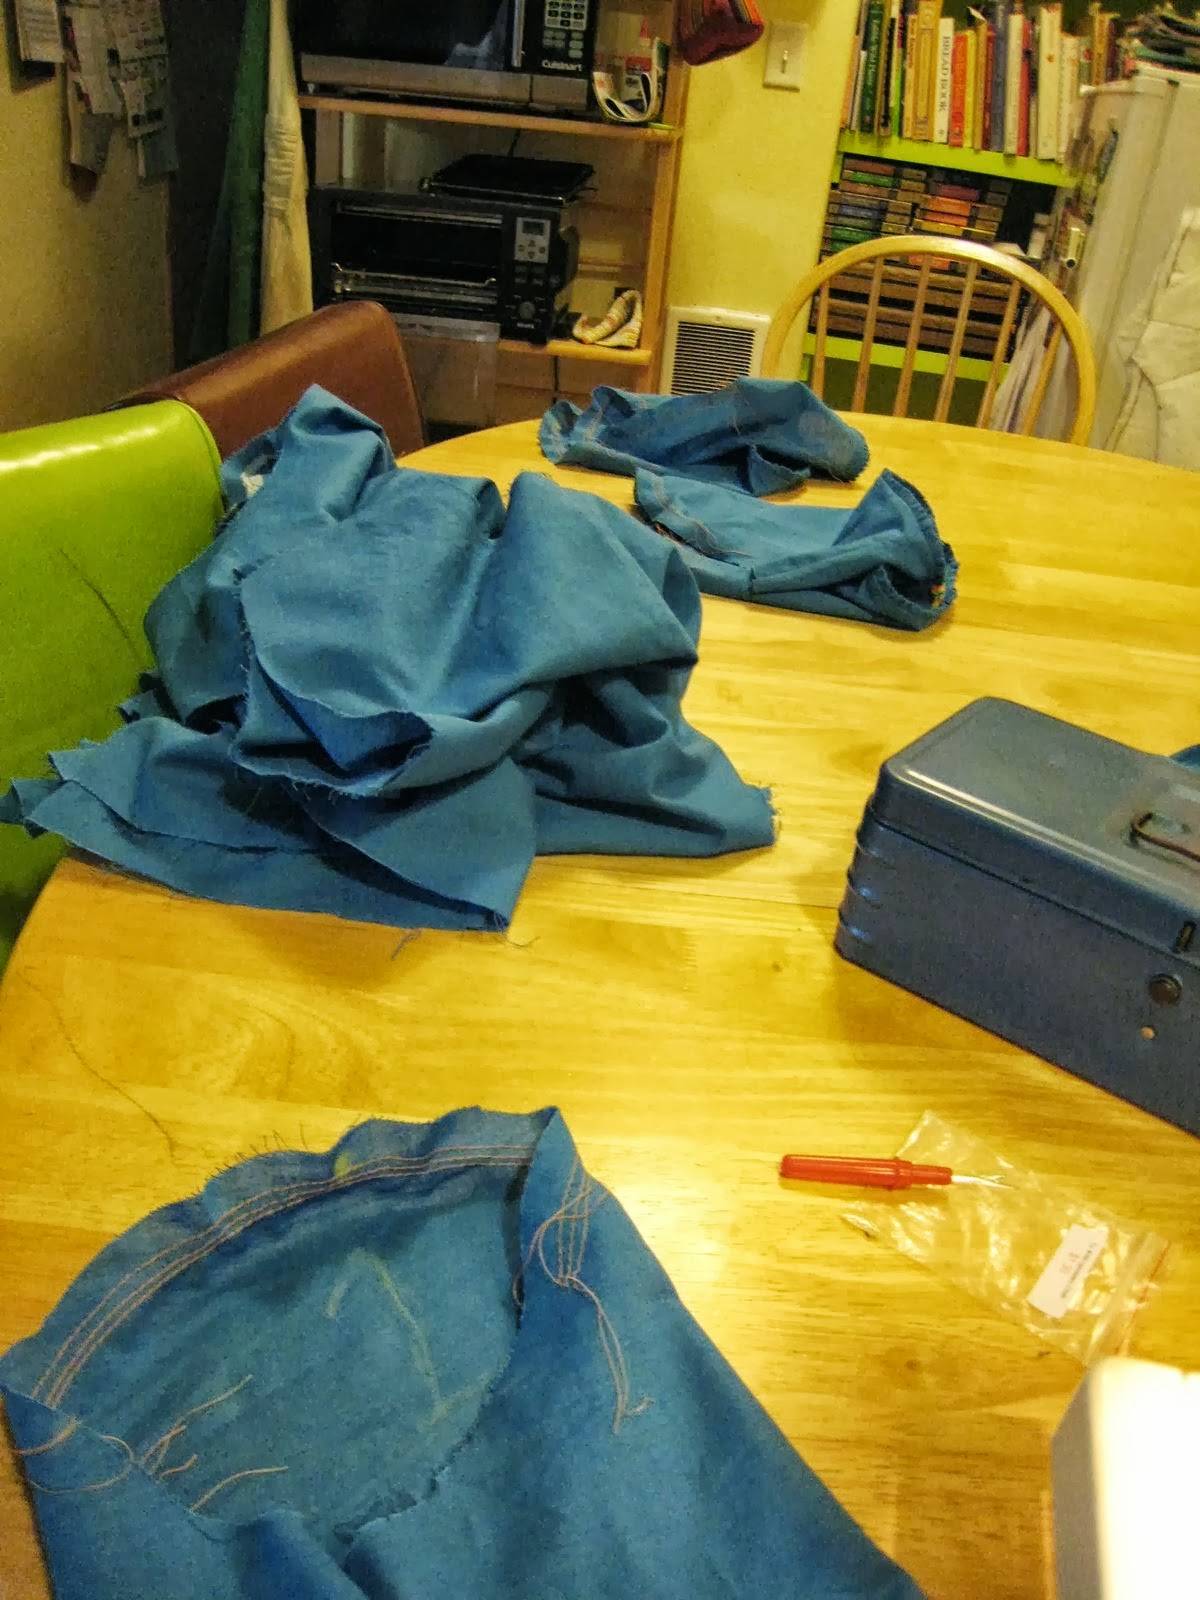
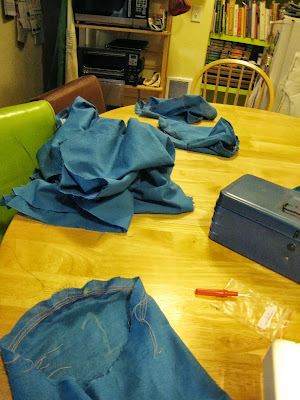
I’ve set in sleeves in my day and I like the process, if not always the result. I like putting in three rows of gathering thread, which will be exuberantly ripped out once the sleeve is securely in place. I went with bright orange because I’ve been ripping through the blue thread on this project, but also because contrast is easier to pull out after the fact. Those are six sleeves, ready to be inserted and three shirts, ready to receive those sleeves.
Postcards from Sara
Postcards from Sara
Postcard from the Czech Republic
Colette Patterns’ Laurel: Tiny ruffles are hard on the hands. Also, getting bias tape right.
And here I am ruffling them. My fingers ached from all the pulling of bobbin threads. I do a lot with my hands and they are pretty strong and don’t usually bother me, but something about the pinching and pulling really took its toll. But there’s no crying in sewing. (That’s a completely untrue statement. There is often a fair amount of crying in sewing, especially when you finish a dress and decide the collar is horrid. Just to take one random example.)
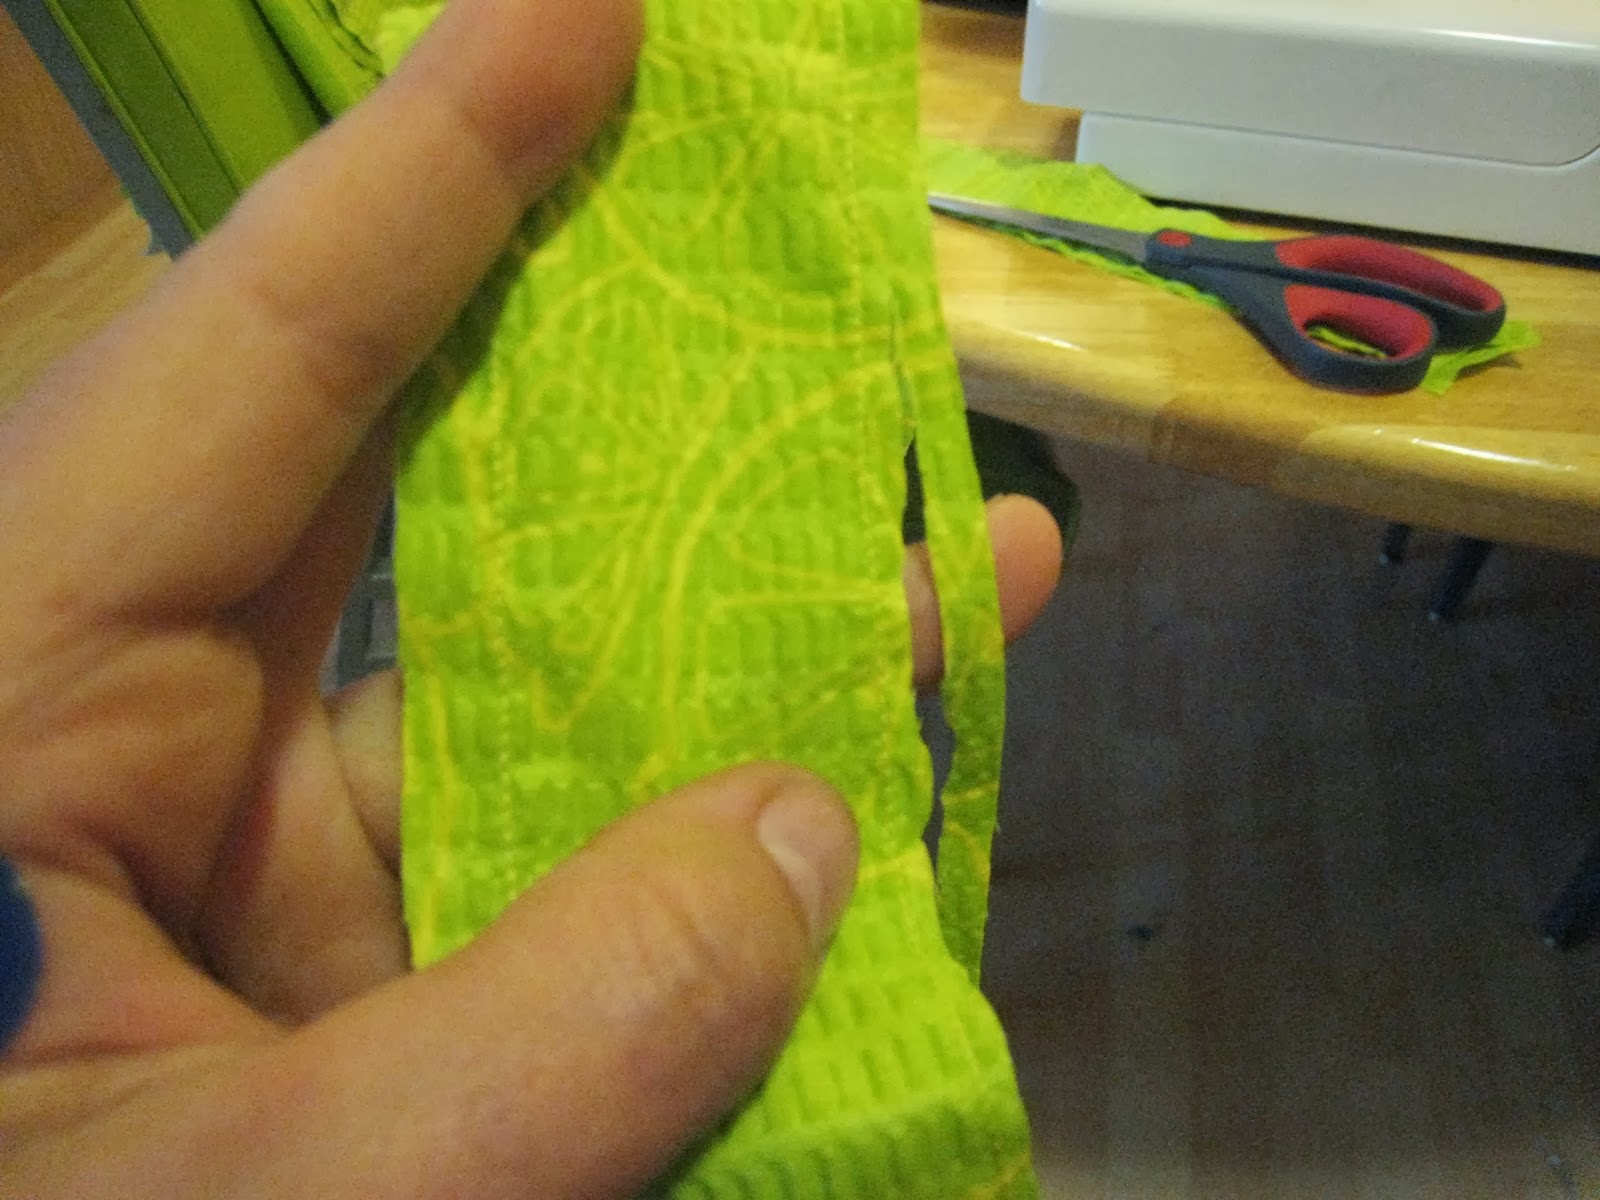
Attempt #3 at continuous bias tape was more successful with this tutorial. The part that helped me the most is in the picture on the screen. No Big Dill suggests actually numbering your lines so you can match things up and that worked wonders for me.