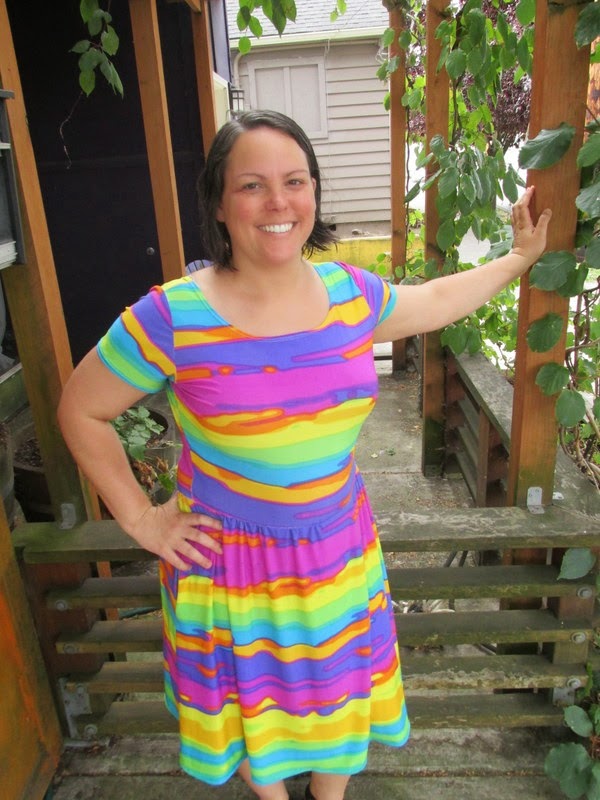
Here it is! One of the three. They sewed up very quickly and look great. I’m very happy with them.
I dropped the bodice 1/2 inch in the front (this was on top of the half inch added to the other dress) and could have gone another half inch. If I make this again I will knock an inch off the back. Apparently there’s more front to me than back.

I also made the sleeves about an inch longer. There’s a point in on my arm that I feel more comfortable when it is covered. And the front neckline is lowered about an inch too.
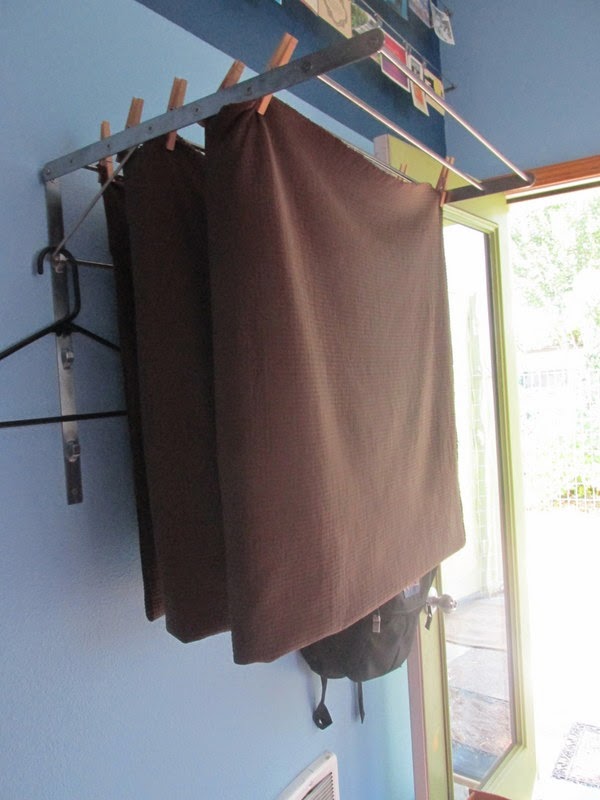
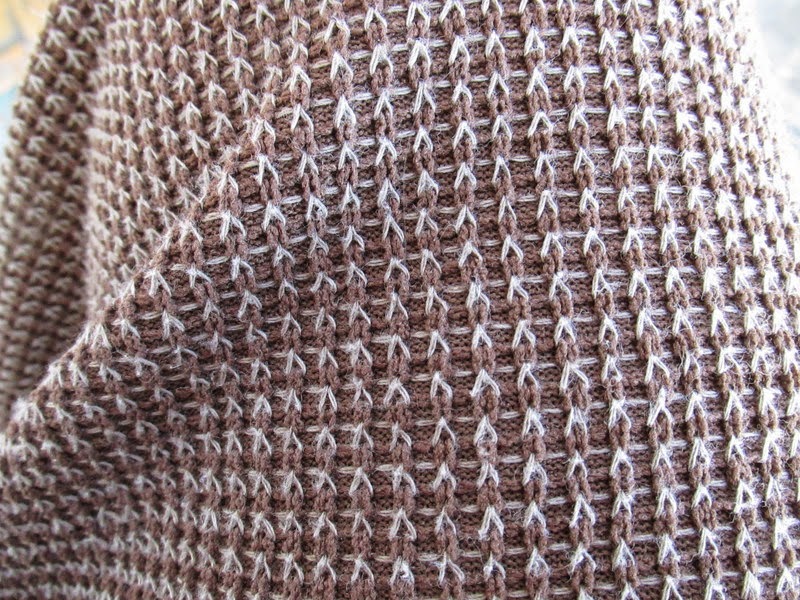
You can’t really see the texture in the full body pictures, so here’s a close-up. The fabric is a really great weight for this dress, it makes the skirt sway attractively when I walk. But man does it snag. I’m currently discovering the many opportunities for snags throughout my day.
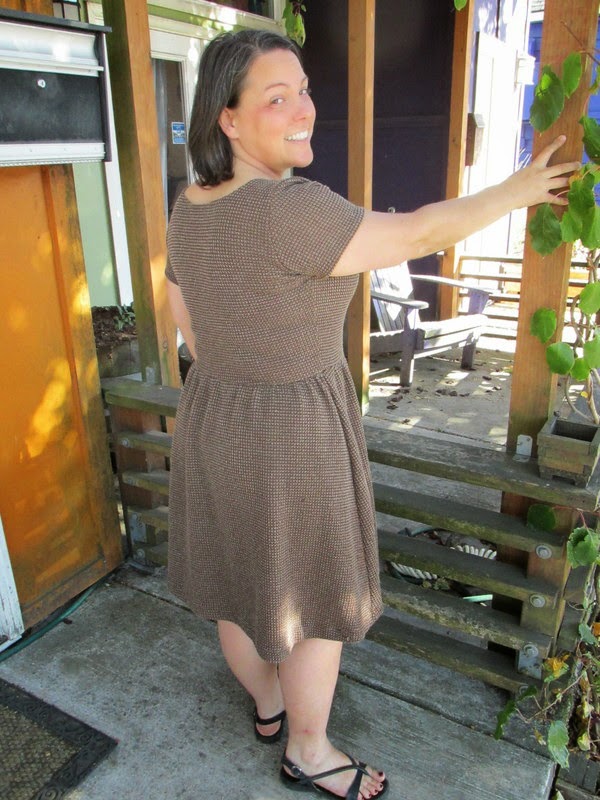
In a random note, I don’t think my brother and I look very much alike, maybe a little through the eyes. But there were about 10 photos in this series (I edited them down to two) and boy howdy did I have the same expression on my face as my brother. It was weird.